Build & deploy a Typescript app to NOVA
This guide is for experienced developers who prefer working locally. The instructions assume you’re comfortable setting up your environment, installing tools, and deploying software.
NOVA provides a platform to develop, deploy, and manage custom apps for controlling robots. You’ll build locally using the Wandelbots NOVA Typescript SDK, push your app to a registry, and deploy it to your NOVA instance using the NOVA CLI.
What this guide covers
- Scaffolding a Typescript app from the Next.js template (so you start with a minimal, working full-stack project)
- Implementing your UI and API routes with Typescript
- Containerizing the app with Docker
- Using the Wandelbots CLI to package, and deploy to a cell
- Verifying your app at
/cell/<your-app-name>
If you’re looking for the fastest and easiest path, working on a Wandelbots NOVA cloud instance remains the quickest way to start prototyping. This document focuses on the local workflow and takes you from a template to a running app on NOVA.
Prerequisites
You completed the Wandelbots NOVA quickstart guide and have a NOVA cloud instance running including a robot.
Set up docker and registries
NOVA apps are deployed as Docker containers. You’ll need Docker installed locally and access to an OCI registry such as Docker Hub.
Install Docker and create account
Install Docker Desktop (or Docker Engine) and create an account on your preferred OCI registry.
Log in to registry
Open your terminal and input the following command. This will allow Docker to push images to your registry:
docker login --username MY-DOCKER-USERNAME MY-REGISTRYIf you’re using Docker Hub, the registry value is typically registry-1.docker.io/MY-DOCKER-USERNAME.
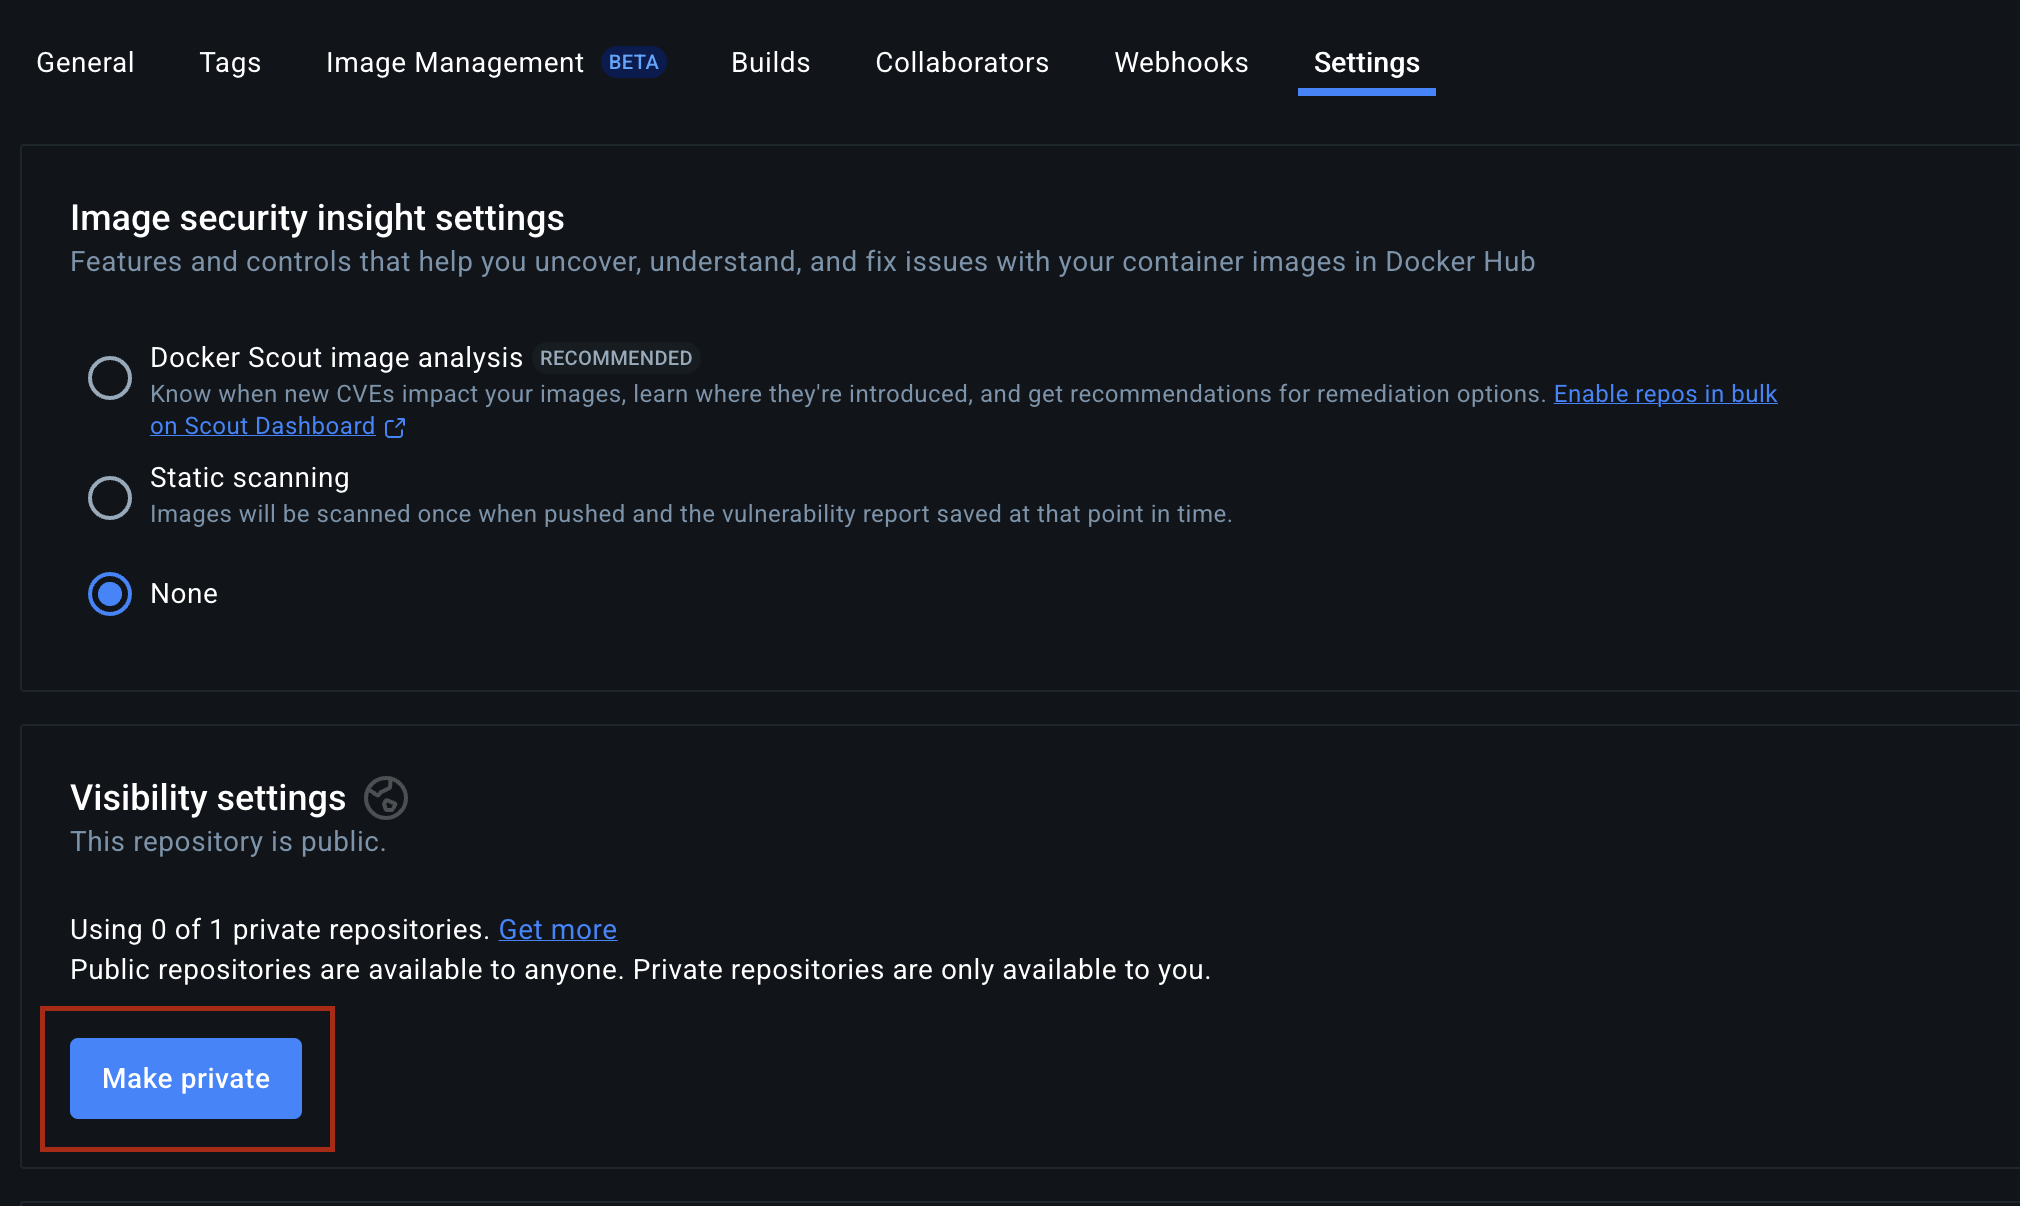
Update repository visibility in Docker
By default, repositories created on Docker Hub are public. If you want to keep your images private, open the repository settings and change the visibility as shown below.
Private repositories ensure that only authenticated users can pull your app image.
Install the NOVA CLI
The NOVA CLI is a command-line tool for creating apps and deploying them to Wandelbots NOVA.
It includes many additional features that you can explore
on GitHub or after installation by running nova --help.
macOS/Linux
Install the Wandelbots NOVA CLI tool using Homebrew .
brew install wandelbotsgmbh/wandelbots/novaEnable autocompletion for zsh.
echo 'source <(nova completion zsh)' >> ~/.zshrcTo see all available autocompletion commands for other shell types, run:
nova completion --helpManual installation
Download the Wandelbots NOVA CLI tool and configure it in your local environment.
Rename the downloaded file to nova and make it executable.
Grant the file execution permissions, as the program is not signed.
In order to ensure a smooth process, add the Wandelbots NOVA CLI to your terminal’s path.
The exact process depends on your operating system and terminal.
Set up CLI
Once you have the CLI installed, the first step is to specify the NOVA instance you’re using.
If you don’t specify a host, the CLI will default to using a local instance.
Physical instance or VM
Deploying to a physical controller or virtual machine in your network typically relies on IP connectivity.
Set the host of your NOVA instance:
nova config set host 192.168.1.100Provide additional authentication details if your instance requires them.
Set image registry
If you are not planning to install your app, you can skip this step.
Now, configure the NOVA CLI to specify where to push your Docker images. This registry will also be used by your NOVA instance to pull the images.
nova config set image-registry MY-REGISTRYCreate an app
Now that you have everything installed and configured, let’s create an app.
Create project with Typescript template
It scaffolds a Next.js project with ready-to-use dev, build, and lint scripts, and it works seamlessly with the Wandelbots React components .
nova app create my-typescript-app -g "nextjs_app"Develop in your preferred editor (Visual Studio Code works especially well) and install Node.js with nvm
or nvm-windows so you can match the version declared in .nvmrc:
Install NVM
curl -o- https://raw.githubusercontent.com/nvm-sh/nvm/v0.39.7/install.sh | bash
export NVM_DIR="$HOME/.nvm"
[ -s "$NVM_DIR/nvm.sh" ] && \. "$NVM_DIR/nvm.sh"
nvm install
npm install
Update .env file
Connect the template to your NOVA instance by creating an .env.local file with the required values:
WANDELAPI_BASE_URL=http://my.instance.wandelbots.io
CELL_ID=cell
NOVA_ACCESS_TOKEN=token
Start app
Start the development server and open the bundled Next.js UI:
npm install
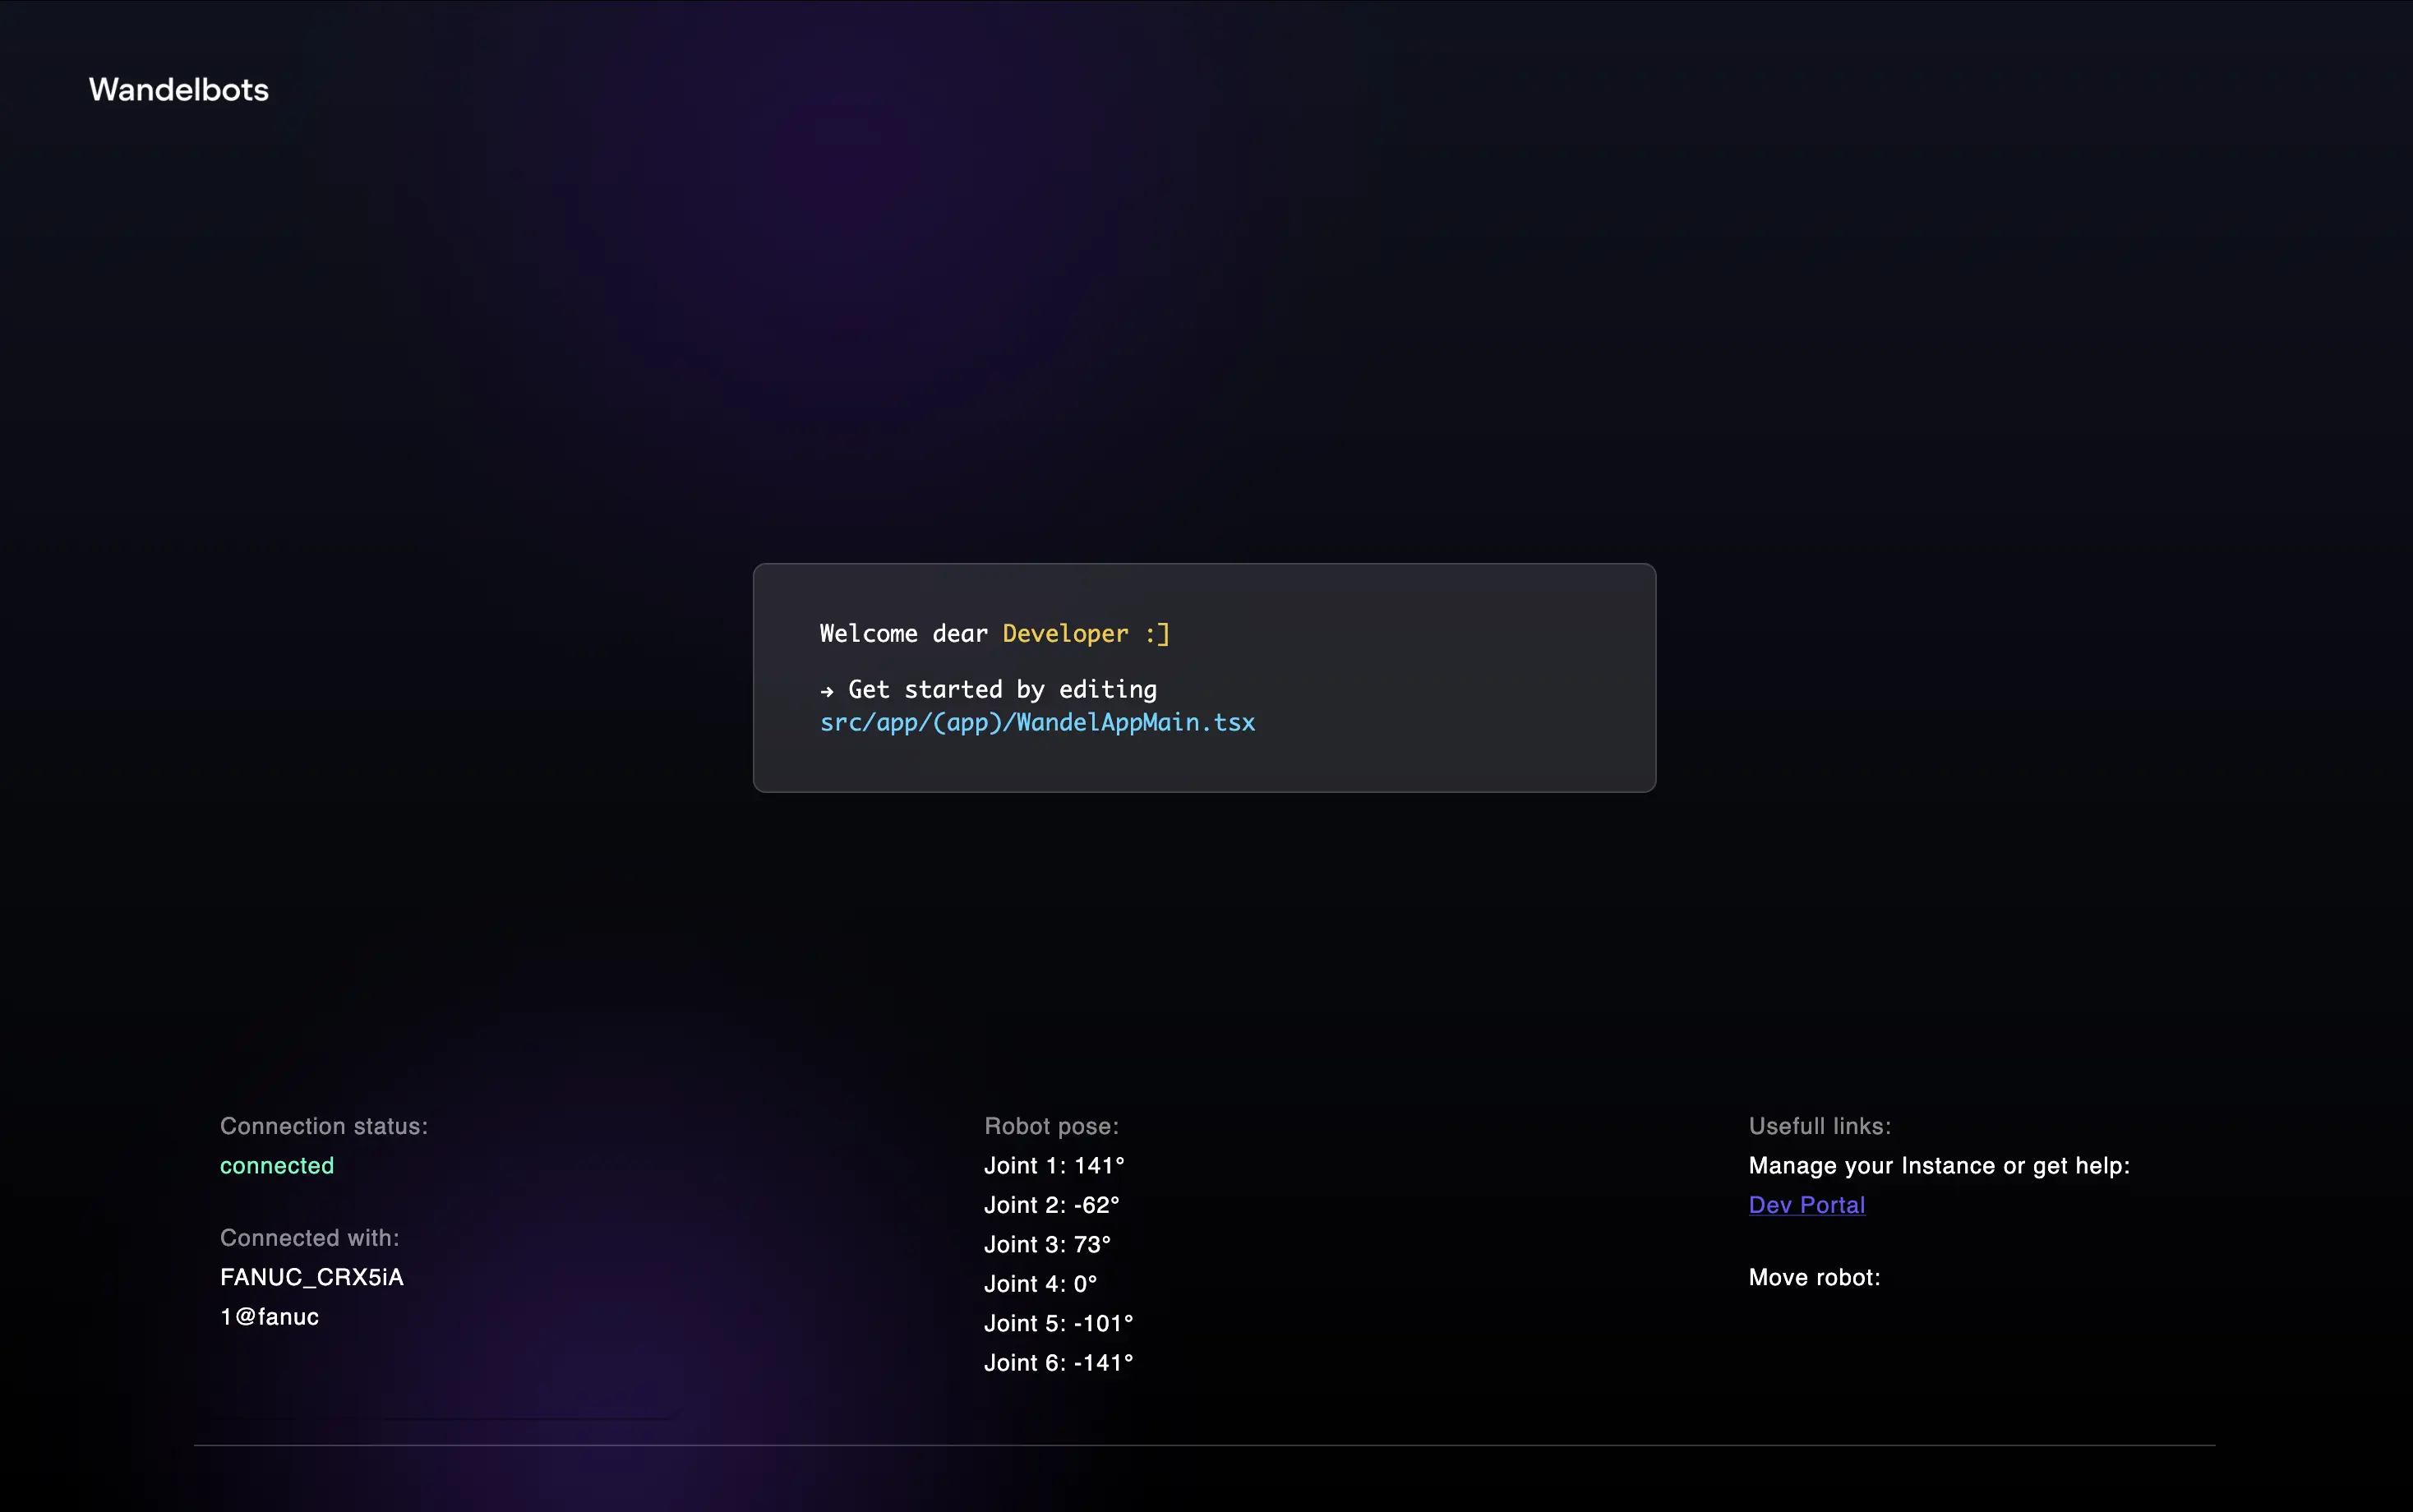
npm run devVisit http://localhost:3000/<your-nova-app> to verify the connection.
Deploy app
Run the following command to deploy the app:
nova app install myapp-tsDiscover available components
If you prefer to jump into cold waters on your own, here’s an overview on available components.
| Component | Description | Location | Language |
|---|---|---|---|
| wandelbots-js | A Javascript library providing convenient access to the Wandelbots NOVA API. | Github , npmjs | TypeScript |
| wandelbots-js-react-components | A collection of ready-made React UI components based on MaterialUI and React Three Fiber to use with Wandelbots NOVA. | Github , npmjs | TypeScript |
| wandelbots-api-client (JS) | A Javascript client providing access to the NOVA API. | npmjs | TypeScript |
| storybook | Overview over the components from react-components | Github | TypeScript |
Further steps
To use the full TypeScript SDK capabilities, refer to the Wandelbots TypeScript SDK documentation or by exploring the TypeScript SDK GitHub repository .
Explore the Wandelbots NOVA templates for TypeScript applications which can be created using the Wandelbots NOVA CLI.
To create FastAPI servers that expose robot programs as REST APIs for other frontend frameworks to consume, refer to the NOVAx framework .