Quickstart
Once you have installed the simulation environment and the Wandelbots NOVA extension for NVIDIA Isaac Sim, you are ready to build your first simulation. Explore the capabilities of Wandelbots NOVA and identify potential use cases for your projects with this quickstart guide.
Prerequisites
You’ve completed the installation of the Wandelbots NOVA extension for NVIDIA Isaac Sim and your simulation environment is connected to Wandelbots NOVA.
Create a scene
To create a scene you’ll use assets, robots and tools from the stacking demo package.
- Download the stacking demo package from the Developer Portal .
- Open the predefined scene
main.usdfrom the package in NVIDIA Isaac Sim.
Add robot to scene
- In the stage tree, navigate to
MIR. - Right-click on
Mounting. - Select
Create→Wandelbots NOVA→Single Robot Model. - In the configuration window, select
KUKAas manufacturer andKUKA_KR10_R900_2as model. - Save the robot to a desired file location and confirm.
- To reorganize the hierarchy, in the stage tree, move the imported robot to the
workspace_kukaXform to ensure a proper environment structure.
Add tool
To pick up objects, the robot requires a gripper:
Connect gripper to robot flange
- In the stage tree, expand the
Kuka_KR10_R900_2hierarchy, navigate toLink_6and expand it too. - To position the tool, drag the gripper
schunk_coact_gripperfrom the content browser onto thetcp_flangeXform as seen in the video. The gripper aligns with the robot’s mounting flange. - To relocate the gripper into the correct layer of the robot assembly, drag the
schunk_coact_gripperfrom thetcp_flangeinto theKUKA_KR10_R900_2Xform. - To create the physical connection, select
Link_6first and then, withCtrlkey pressed, select theGripper_Bodyprim of the tool, too. - Select
Create→Physics→Joint→Fixed Joint.
Configure tool’s action graph
- Right-click on the action graph of
schunk_coact_gripperin the stage tree and selectOpen Graph. - In the action graph editor, search for the
On IO Changenode and drag it into the workspace. - Connect the
Changeoutput toInput Executionand theBooleanoutput to theConditionpin of the following logic node. - Select the
On IO Changenode and set the following properties in thePropertiespanel:\Input Robot: Select the robot from the scene.IO: Set toOUT#1.
Learn more on how to set up a parallel gripper or surface gripper as well as how to use OmniGraph nodes in the respective articles.
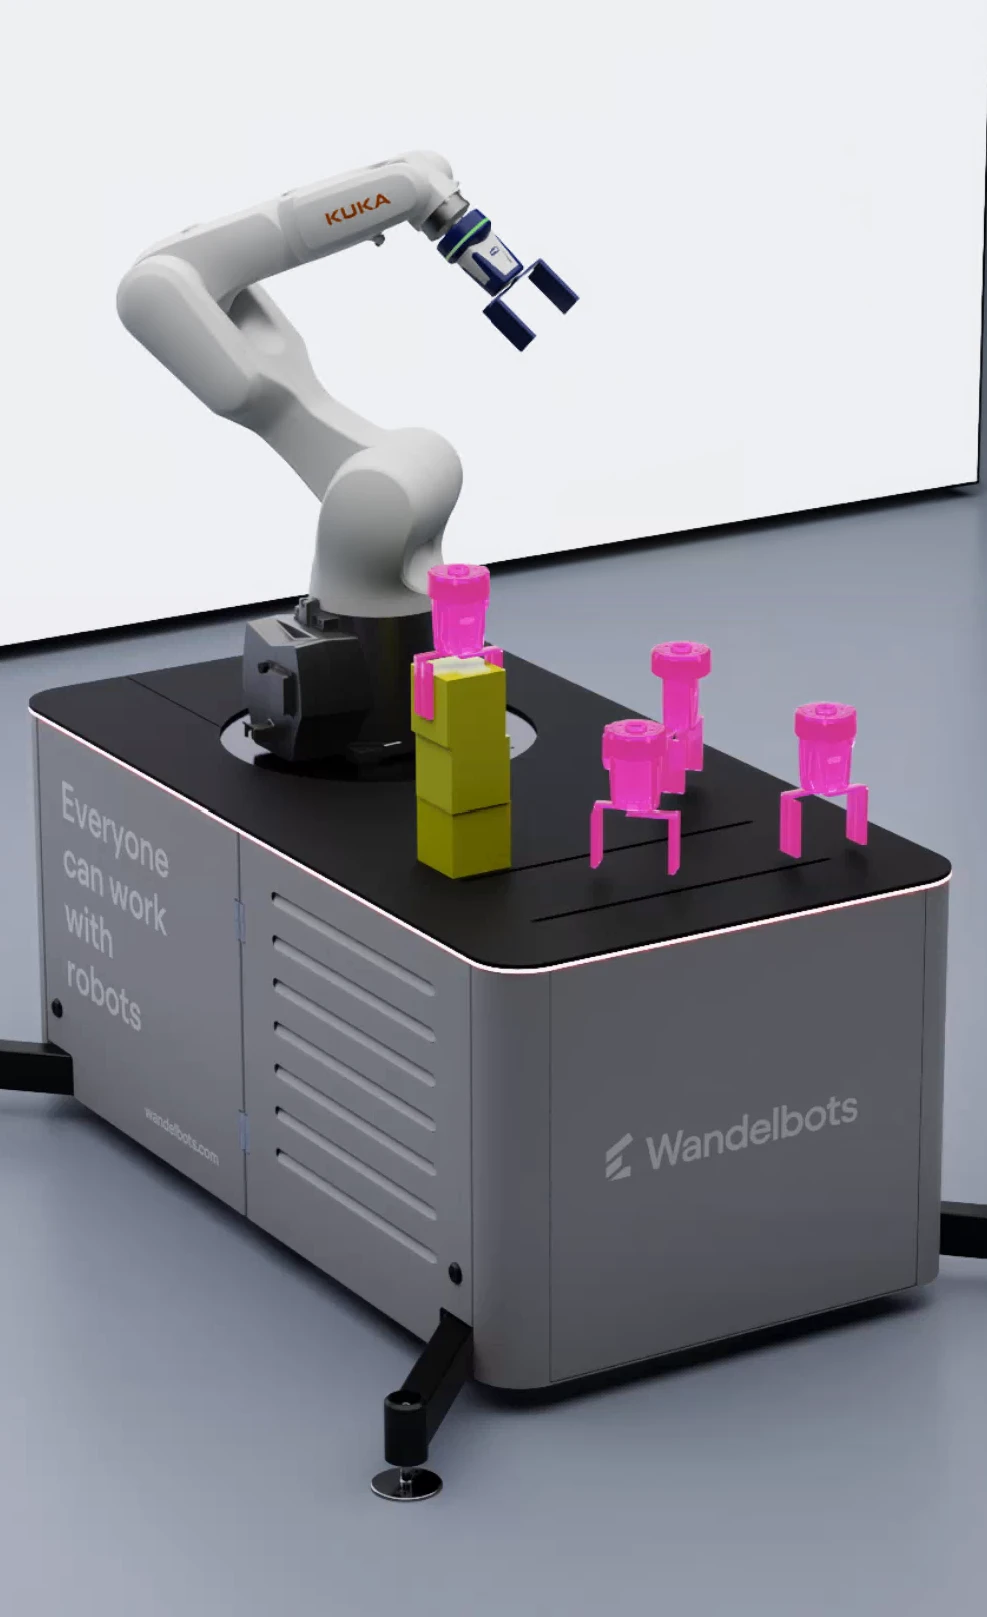
Add workpieces
Now that the gripper is ready to grab objects, let’s add some cubes to the scene that the robot can interact with.
- From the asset folder drag and drop the
workpiece.usdinto your scene and into theworkspace_kukaXform. Once it is imported you can place it anywhere on the table. - Right click the workpiece prim and duplicate it twice.
Create ghost objects for pick and place poses
Ghost objects act as target poses for the robot’s TCP; tool center point. They help you visualize and plan movements before execution.
-
Right-click on the gripper in the stage tree.
-
Select
Create→Wandelbots NOVA→Ghost Object.
Aposesprim is created under gripper. -
Use the transform handles in the viewport to drag the ghost object to the precise location where the robot should pick up the cube.
-
Expand the
posesprim and select the generated mesh. -
Rename the mesh to
PickPose_01. -
Position
PickPose_01where the gripper should grab the first cube.
A ghost overlay of the robot is displayed.
If the overlay is visible, the position is reachable. If it disappears, the position is out of reach.If you can’t reach the position using the arrows in the viewport, use the
TranslationandOrientationfields in thePropertiespanel by entering precise coordinates. -
Duplicate
PickPose_01and position the newPickPose_02on the second cube. -
Repeat step 7 for
PickPose_03on the third cube. -
Duplicate one of the pick poses and rename the new pose to
PlacePose_01. -
Position the
PlacePose_01where the stack should start. -
Duplicate
PlacePose_01to createPlacePose_02. -
To stack the place poses, move
PlacePose_02vertically by the height of one cube. -
Repeat step 11 and 12 for
PlacePose_03, moving it up by another cube’s height to complete the stacking sequence.
Learn more about ghost objects and their use in ghost teaching.
Write robot program
To start stacking cubes, you need to write a robot program that defines the pick and place sequence using the ghost object poses as targets for the robot’s TCP.
Find the robot program in the examples folder of the GitHub repository.
You can execute the program in two setups: either directly on the NOVA Cloud instance using the Visual Studio Code app from the App Store or via a local Visual Studio Code setup on your machine.
Local Setup
- Open Visual Studio Code and create a new folder for your project.
- Install
uv. - Install the NOVA Python SDK and the Wandelbots Isaac Sim Extension API client:
uv init uv add wandelbots-nova wandelbots-isaacsim-api - Create a new file named
main.pywithin your project folder and paste the example code or your own code. - In
main.py, go to line 25 and enter the IP address of the host machine where Isaac Sim is currently running on. - Create a new file named
.envinmy_projectand add the following line to the file:NOVA_API = "http://<Your_NOVA_Instance_URL>" # replace `Your_NOVA_Instance_URL` with the actual URL of your running NOVA cloud instance. NOVA_ACCESS_TOKEN = "My_NOVA_Access_Token" # replace `My_NOVA_Access_Token` with the actual access token of your running NOVA cloud instance.
Learn more about how to set up a local Visual Studio Code environment and connect it to a NOVA Cloud instance here .
Start simulation
- Create a virtual controller called
kukain your NOVA Cloud instance. Manufacturer: KUKA, model:kuka-kr10_r900_2. - In NVIDIA Isaac Sim, navigate to
Wandelbots NOVA→Connected Instancesand clickRefresh.
The virtual controller is displayed in the list.
The virtual controller’s motion group is automatically matched with theArticulationin the scene. - To update the TCP on Wandelbots NOVA, in the stage tree, navigate to
KUKA_KR10_R900_2→schunk_coact_gripper→Gripper_Body→tcp_gripper. - Select
Create→Wandelbots NOVA→TCP in NOVA.
The TCP is added onto the virtual controller. - Start the NVIDIA Isaac Sim simulation with
Run. - Start the robot program in Visual Studio Code and watch the simulation execute the stacking sequence in real-time.
If you want to use your own tool, adjust the TCP values accordingly. Pass the original tool file to a CAD tool and calculate the TCP values.
If the TCP has angles, additional calculation is required which the Wandelbots Customer Success is happy to help you with.
The name of the gripper in Isaac Sim must be identical to the gripper name defined in your robot program.
The robot’s name in the program should remain unchanged.
Copy the gripper name from your code and rename the gripper object in the NVIDIA Isaac Sim stage tree accordingly to avoid connection errors.
Congrats! You’ve successfully set up the stacking demo and simulated the stacking scenario. 🎉
To step it up a notch, try modifying the tool or the TCP position. Let us know how it went!