Add parallel gripper
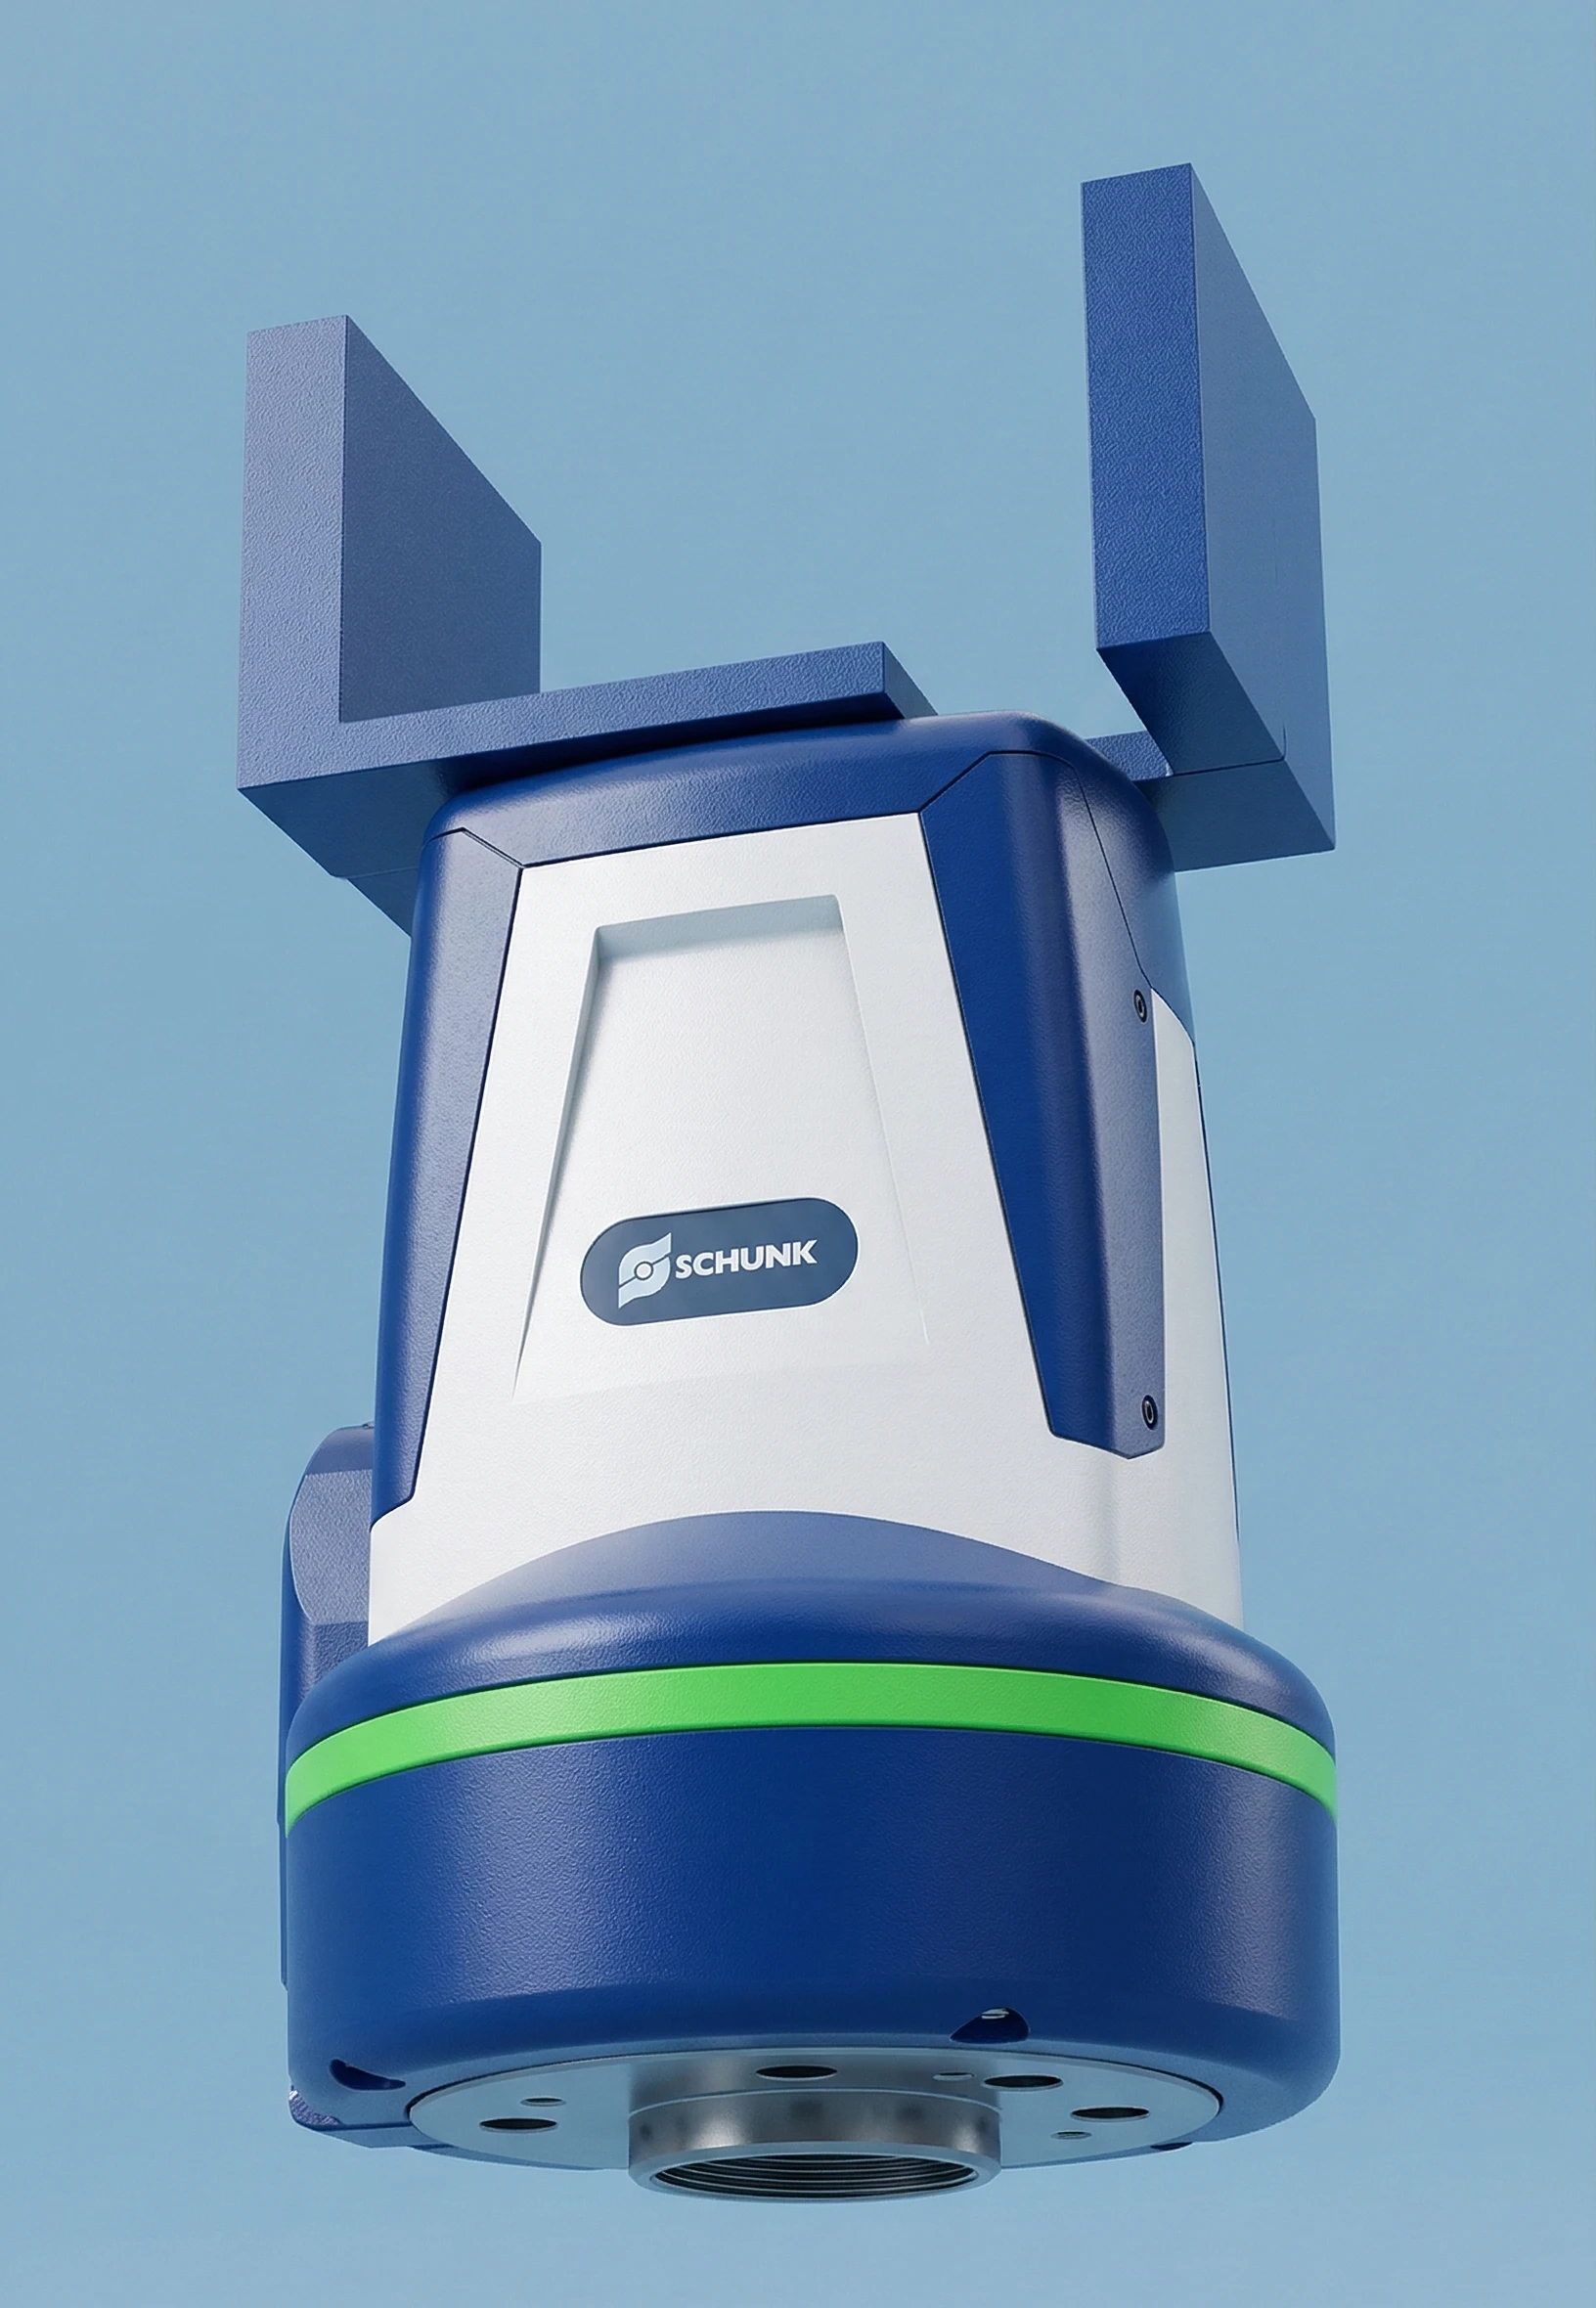
Configure a parallel gripper in a scene. This guide demonstrates how to manually build a gripper using prismatic joints and physics drives.
The workflow covers geometry setup, physics configuration, and control via an action graph.
Create gripper geometry
- Drag and drop the
Gripper_Body.usdinto the scene. - Create a cube via
Create→Mesh→Cube. - Adjust the transform to form the first finger segment:
| X | Y | Z | |
|---|---|---|---|
| Translate | 0.0 | 0.04 | 0.16 |
| Orient | 0.0 | 0.0 | 0.0 |
| Scale | 0.05 | 0.01 | 0.05 |
- Create a second cube and apply:
| X | Y | Z | |
|---|---|---|---|
| Translate | 0.0 | 0.025 | 0.13 |
| Orient | 90.0 | 0.0 | 0.0 |
| Scale | 0.05 | 0.01 | 0.04 |
- Group both cubes into an
XformnamedFinger_R. - Duplicate it to create
Finger_Land rotate it 180° on Z.
Configure rigid bodies and friction
-
Add rigid bodies with colliders to:
Gripper_BodyFinger_RFinger_L
-
Create a physics material via
Create→Physics→Physics Material. -
Configure friction:
- Dynamic friction:
0.8 - Static friction:
0.8 - Combine mode:
Max
- Dynamic friction:
-
Assign the material to both fingers.
Proper friction settings prevent objects from slipping during gripping.
Create prismatic joints
-
Create a prismatic joint for each finger via
Create→Physics→Joint→Prismatic Joint. -
Configure the joint connections:
| Joint | Body 0 | Body 1 |
|---|---|---|
| Left finger | Gripper_Body | Finger_L |
| Right finger | Gripper_Body | Finger_R |
These joints allow linear motion of the fingers.
Configure linear drives
-
Add a linear drive to each prismatic joint via
Add→Physics→Linear Drive. -
Configure both drives:
| Parameter | Value |
|---|---|
| Axis | Y |
| Lower Limit | -0.005 |
| Upper Limit | 0.005 |
| Max Force | 100 |
| Damping | 100 |
| Stiffness | 3000 |
The drives act as motors controlling finger movement.
Create action graph
-
Create an action graph via
Create→Visual Scripting→Action Graph. -
Add the following nodes:
- On IO Change (Wandelbots)
- Branch
- Write Prim Attribute (4×)
- Constant Float (2×)
-
Connect the logic:
- IO Change → Branch (trigger + condition)
- True → closing motion
- False → opening motion
-
Define velocities:
- Opening:
0.5 - Closing:
-0.5
- Opening:
-
Configure all Write Prim Attribute nodes:
| State | Target Prim | Attribute |
|---|---|---|
| Open | PrismaticJoint_Finger_R | drive:linear:physics:targetVelocity |
| Open | PrismaticJoint_Finger_L | drive:linear:physics:targetVelocity |
| Close | PrismaticJoint_Finger_R | drive:linear:physics:targetVelocity |
| Close | PrismaticJoint_Finger_L | drive:linear:physics:targetVelocity |
The action graph enables IO-based control of opening and closing.
Test parallel gripper
Test the gripper by triggering the IO signal defined in the action graph. Verify that both fingers move symmetrically and grip objects securely.