v2 API quickstart
If you've used Wandelbots NOVA API v1 before, use the migration guide to adjust your applications and robot programs.
Learn how to create a cell with one or multiple robots, how to interact and program them with Wandelbots NOVA API v2. Keep in mind that Wandelbots NOVA API v2 is currently in an experimental state and may change in future releases.
Open the Wandelbots NOVA API v2 from the home screen of your instance or type <instance's IP address>/api/v2/ui into your browser's URL.
To authenticate your API requests, use the access token provided with your instance in the Developer Portal.
API request limits
Please note that our current upload limit for API requests is 100MB. If you need to send larger files, e.g. point cloud files when using cameras, please contact Wandelbots Customer Success.
Configure a robot cell
The first cell on a Wandelbots NOVA instance gets created automatically.
Add a robot to the cell
- Open the Setup app.
- Open the "Cell" tab.
This is the cell on your instance to which the desired robots and communication with other devices or extensions can be established.
Add a robot via Controller > Add Robot Controller
POST /api/v2/cells/{cell}/controllers.
Use the Examples menu to add the desired robot. Start with a virtual robot named ur5e-bob.
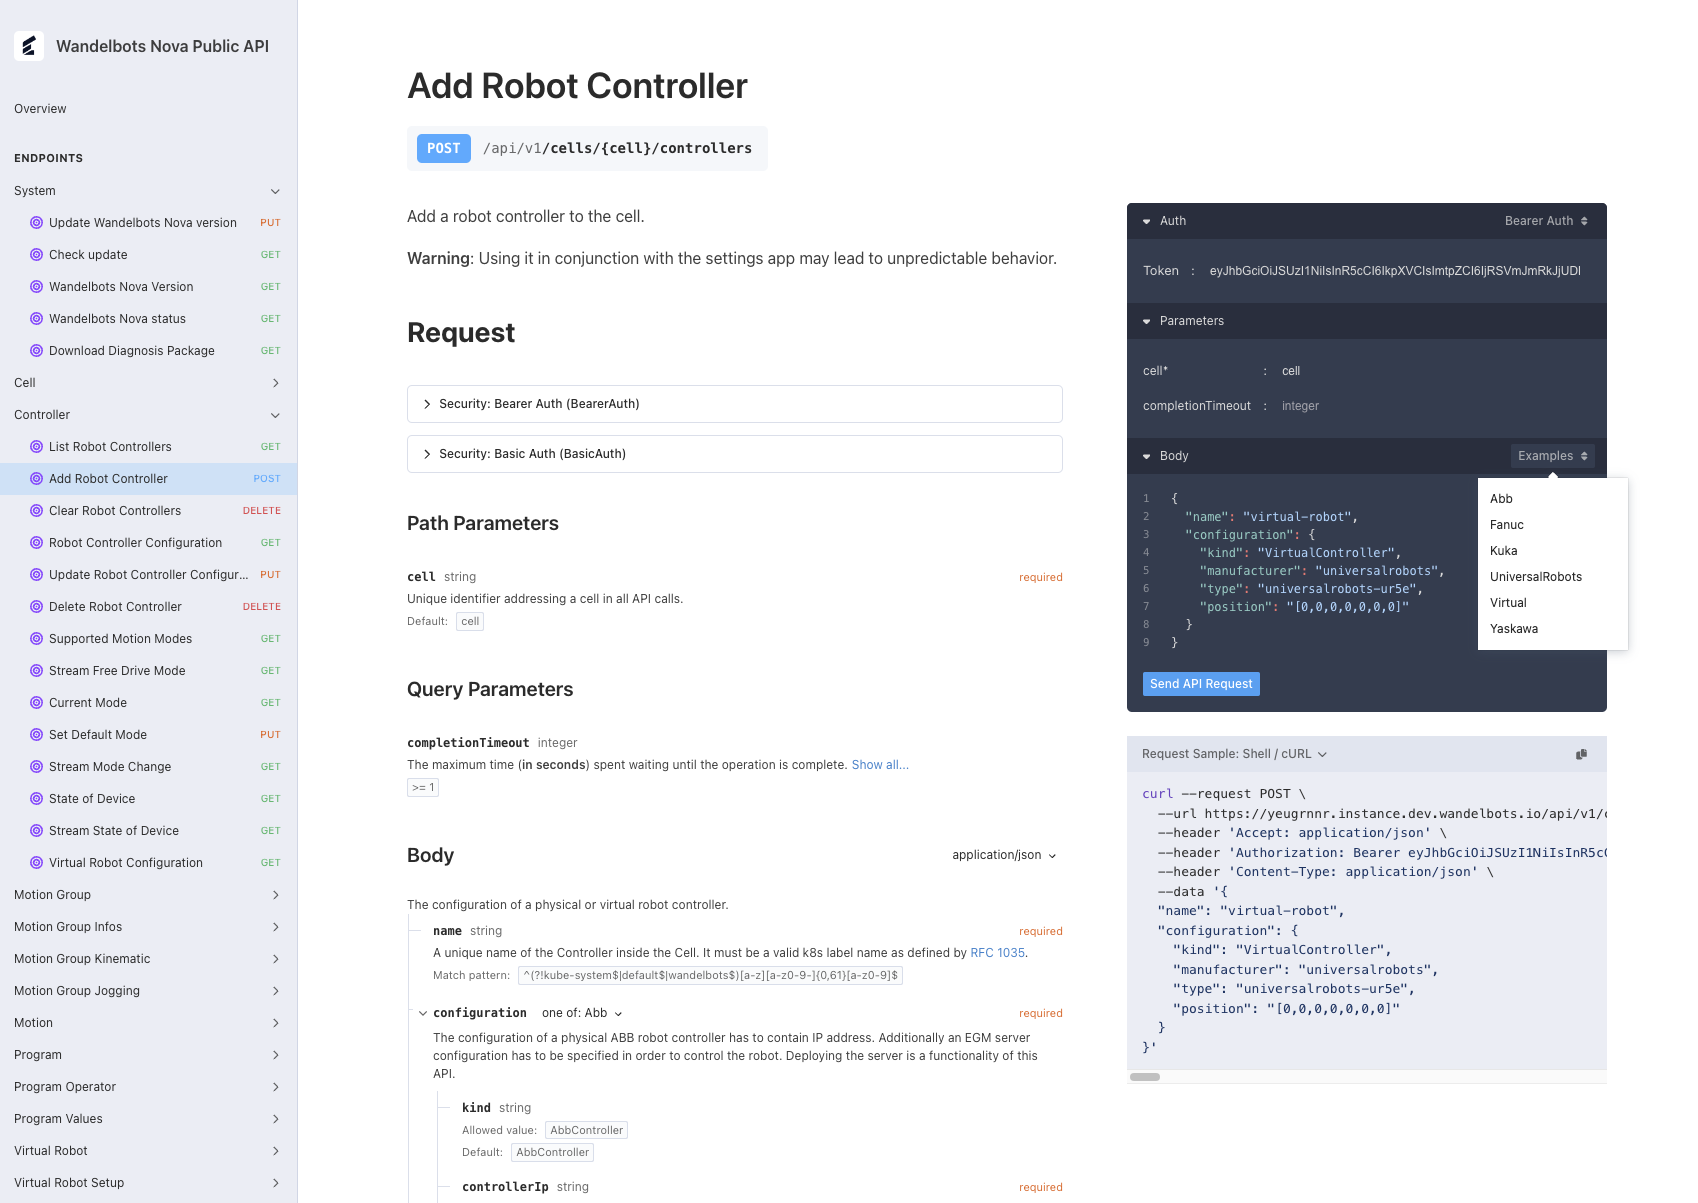
The robot controller is required to execute robot motions for each connected motion group, and used to interact with I/Os and communicate with periphery that does not represent an individual motion group.
Gather information from the controller
You can also use the Wandelbots NOVA API to obtain information on the connected robot controllers, e.g. TCP or current state.
The following section requires available motion groups to interact with.
To get a list of available motion groups in your cell use Controller > List Robot Controllers GET /api/v2/cells/{cell}/controllers. Each robot controller has one or more motion groups.
For further requests to the motion group, use x@controller_id, e.g. 0@ur5e-bob.
Read TCP information
For further requests concerning the robot, the tool center point (TCP) is required.
Read the active TCP via Motion Group > State GET /api/v2/cells/{cell}/motion-groups/{motion-group}/state.
Read the current state of the motion group
To get the joint configuration, the cartesian position of a specific TCP or other information concerning the robot state call Motion Group > State GET /api/v2/cells/{cell}/motion-groups/{motion-group}/state and replace {motion-group} with the desired motion group.
You can also receive a stream of state updates via a WebSocket connection. Instead of requesting state connect a websocket to ws://<instance-address>/api/v2/cells/{cell}/motion-groups/{motion-group}/state-stream.
Move the robot
You have two options to move the robot: You can either plan and execute a motion via the Wandelbots NOVA API, or you can create a program using Wandelscript.
Let's plan and execute a motion via the Wandelbots NOVA API first that we'll move to a Wandelscript program later on.
To move the robot with Wandelbots NOVA API, you need to plan a motion. The following request plans a movement consisting of two parts: First, the robot will move from its initial joint position to a new joint position. Secondly, it will perform a line motion to a defined cartesian pose.
Get planning parameters
The first step is to get the planning parameters from Motion Group > Description GET /api/v2/cells/{cell}/motion-groups/{motion-group}/description.
You'll use the data as the first parameter in motion planning.
Plan a motion
The second step is to plan a motion from the robot's current position via the endpoint
Trajectory Planning > Plan Trajectory POST /api/v2/cells/{cell}/motion-planning/plan-trajectory with start_joint_position
representing the current state of the motion group. You can plan one or more motions in a row.
{
  "robot_setup": {
    "motion_group_type": "UniversalRobots_UR5e",
    "mounting": {
      "position": [
        0,
        0,
        0
      ],
      "orientation": [
        0,
        0,
        0
      ]
    },
    "tcp": {
      "position": [
        0,
        0,
        0
      ],
      "orientation": [
        0,
        0,
        0
      ]
    },
    "safety_setup": {
      "global_limits": {
        "joint_position_limits": [
          {
            "lower_limit": -6.284930636431581,
            "upper_limit": 6.284930636431581
          },
          {
            "lower_limit": -6.284930636431581,
            "upper_limit": 6.284930636431581
          },
          {
            "lower_limit": -2.8623399732707004,
            "upper_limit": 2.8623399732707004
          },
          {
            "lower_limit": -6.284930636431581,
            "upper_limit": 6.284930636431581
          },
          {
            "lower_limit": -6.284930636431581,
            "upper_limit": 6.284930636431581
          },
          {
            "lower_limit": -6.284930636431581,
            "upper_limit": 6.284930636431581
          }
        ],
        "joint_velocity_limits": [
          3.14,
          3.14,
          3.14,
          3.14,
          3.14,
          3.14
        ],
        "joint_acceleration_limits": [
          40,
          40,
          40,
          40,
          40,
          40
        ]
      }
    }
  },
  "start_joint_position": [1.17, -1.57, 1.36, 1.03, 1.29, 1.28],
  "motion_commands": [
    {
      "path": {
        "target_joint_position": [2.74, -1.57, 1.36, 1.03, 1.29, 1.28],
        "path_definition_name": "PathJointPTP"
      },
      "path": {
        "target_pose": {
          "position": [
            400,
            0,
            400
          ],
          "orientation": [
            1.57,
            0,
            0
          ]
        },
        "path_definition_name": "PathLine"
      }
    }
  ]
}The response contains the planned trajectory in joint sample timestamps and path parameters. If the path can't be planned completely, the path will be planned up to the first error.
Execute the motion
To execute the planned trajectory, you have to
- Open a websocket connection with Trajectory Execution > Execute Trajectory
GET /api/v2/cells/{cell}/execution/trajectory. - Send the desired planned motion via the InitializeMovementRequest parameter.
- Start robotic movement with the StartMovementRequest parameter.
The parameter location_on_trajectory specifies the position on the motion trajectory where the robot should be moved to.
In this case, a value of 0 moves the robot to the start of the trajectory.
Replicate motion with Wandelscript
To program the robot using Wandelscript, you first need to write a program that specifies the movements. The following program results in the same motion as the one planned via Wandelbots NOVA API above:
bob = get_controller("ur5e_bob")
do with bob[0]:
    # Move to the initial joint position
    move via joint_p2p() to [1.17, -1.57, 1.36, 1.03, 1.29, 1.28]
    # Move to the second joint position
    move via joint_p2p() to [2.74, -1.57, 1.36, 1.03, 1.29, 1.28]
    # Move in a line to the specified cartesian pose
    move via line() to (400, 0, 400, 1.57, 0, 0)
Once the Wandelscript is written you can send it via the asynchronous endpoint Program > Create program run POST /api/v2/cells/{cell}/runs or
the synchronous endpoint Program > Execute program POST /api/v2/cells/{cell}/execute.
Make yourself familiar with Wandelscript by browsing its basic syntax!
Congrats, you've written your first robot program! Time to put on a space suit and start exploring more complex robotic programs!