Explore Wandelbots NOVA
Before you throw yourself into the deep end of space, a nice warm-up is to create a cloud instance. This will allow you to check out all key features without the need to install anything on your local machine.
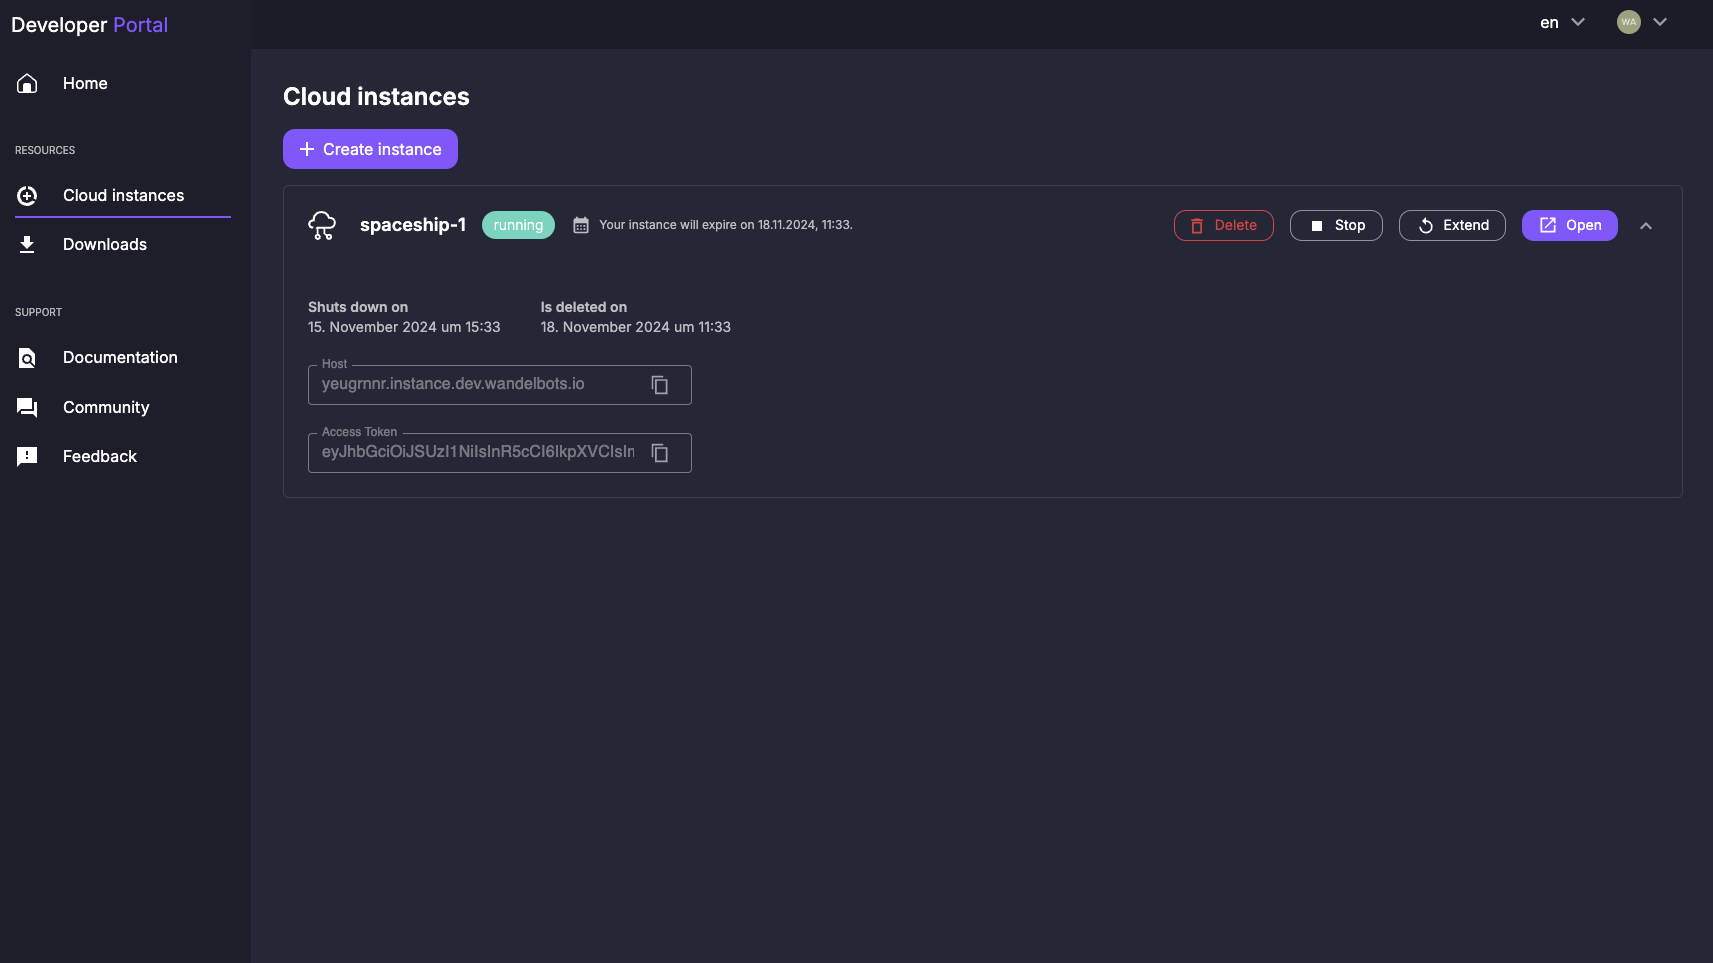
Create a cloud instance
Hop on over to the Wandelbots Developer Portal (opens in a new tab) and create a cloud instance.
If a lock icon is displayed next to cloud instances, you need a Wandelbots NOVA license. Wandelbots Customer Support (opens in a new tab) is happy to help you with that!
Create a robot cell
Open the created instance and the home screen of the instance is displayed in another window.
The home screen of your instance is the starting point for all your activities. Here you can create, manage, and simulate cells, write robot programs, and much more. This is also where your own custom apps will be displayed after you deployed them to the Wandelbots NOVA instance.
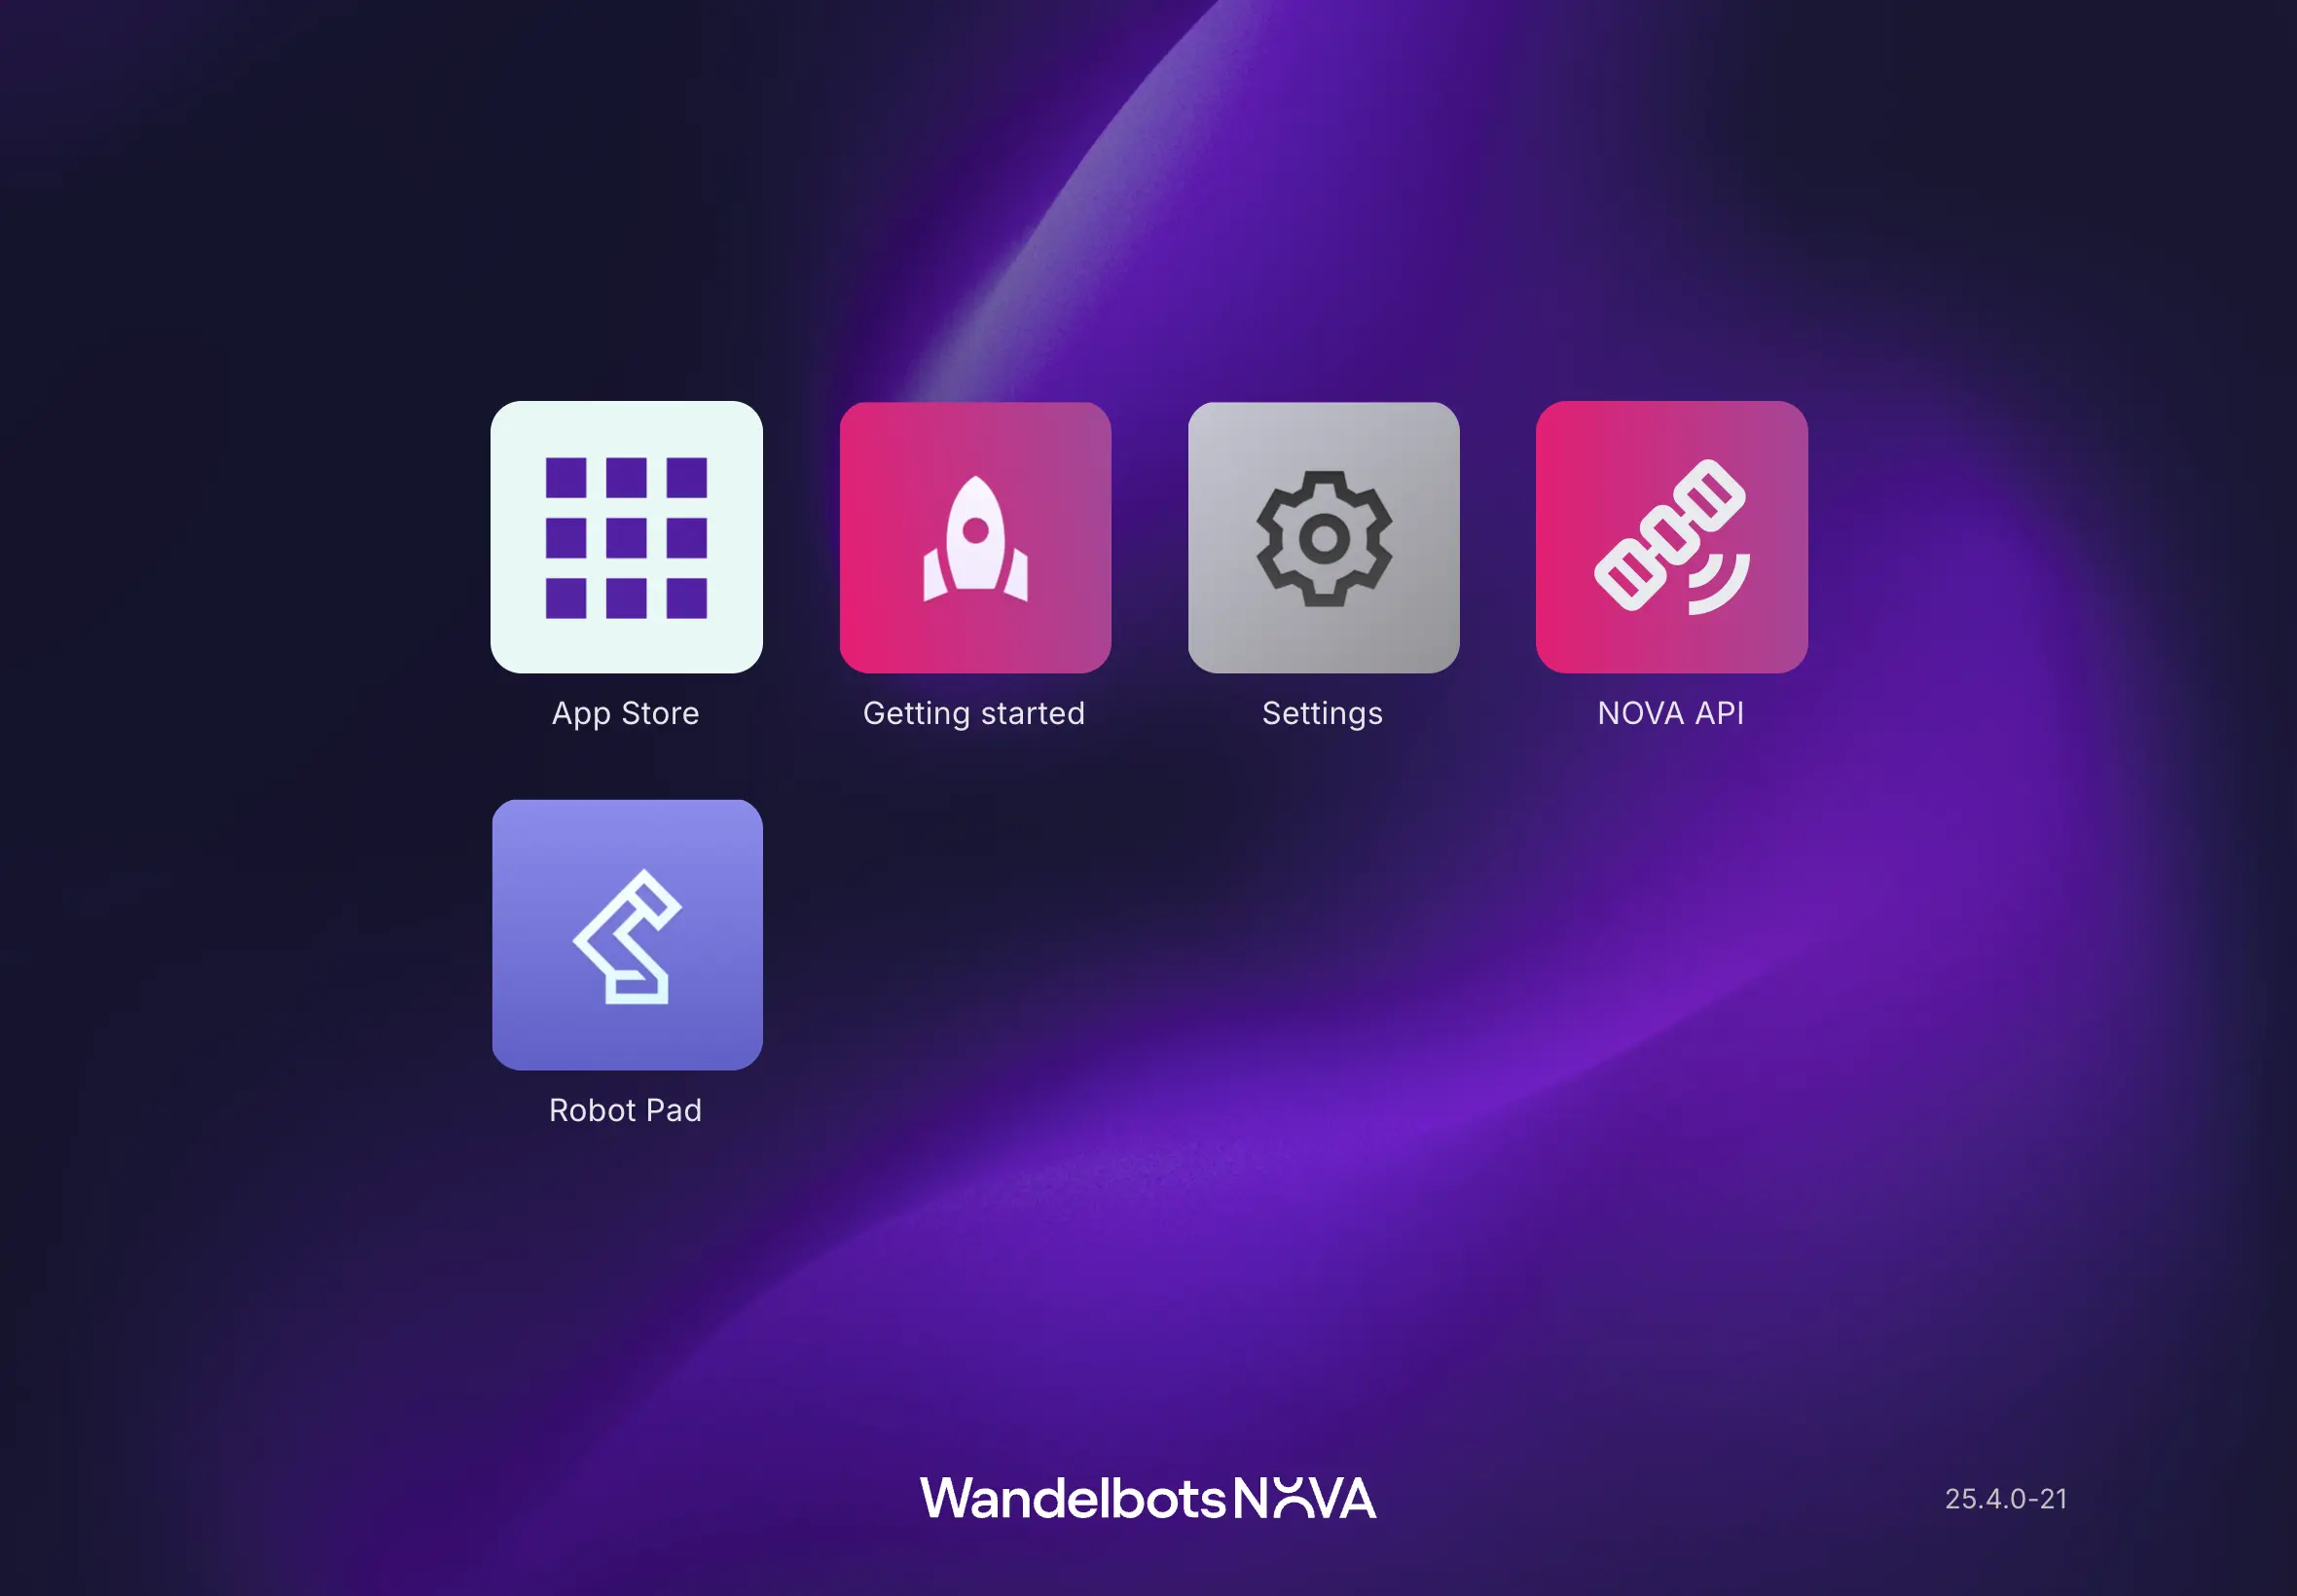
For now, we want to create a virtual cell within the settings and add a robot.
Upon the start of each cloud instance, a default cell is created that you can add robots to.
Open the settings app and go to the "Cell" tab.
This is where your cell management and cell creation takes place. You can add robots to cells, manage robot TCPs and import and export cell configurations.
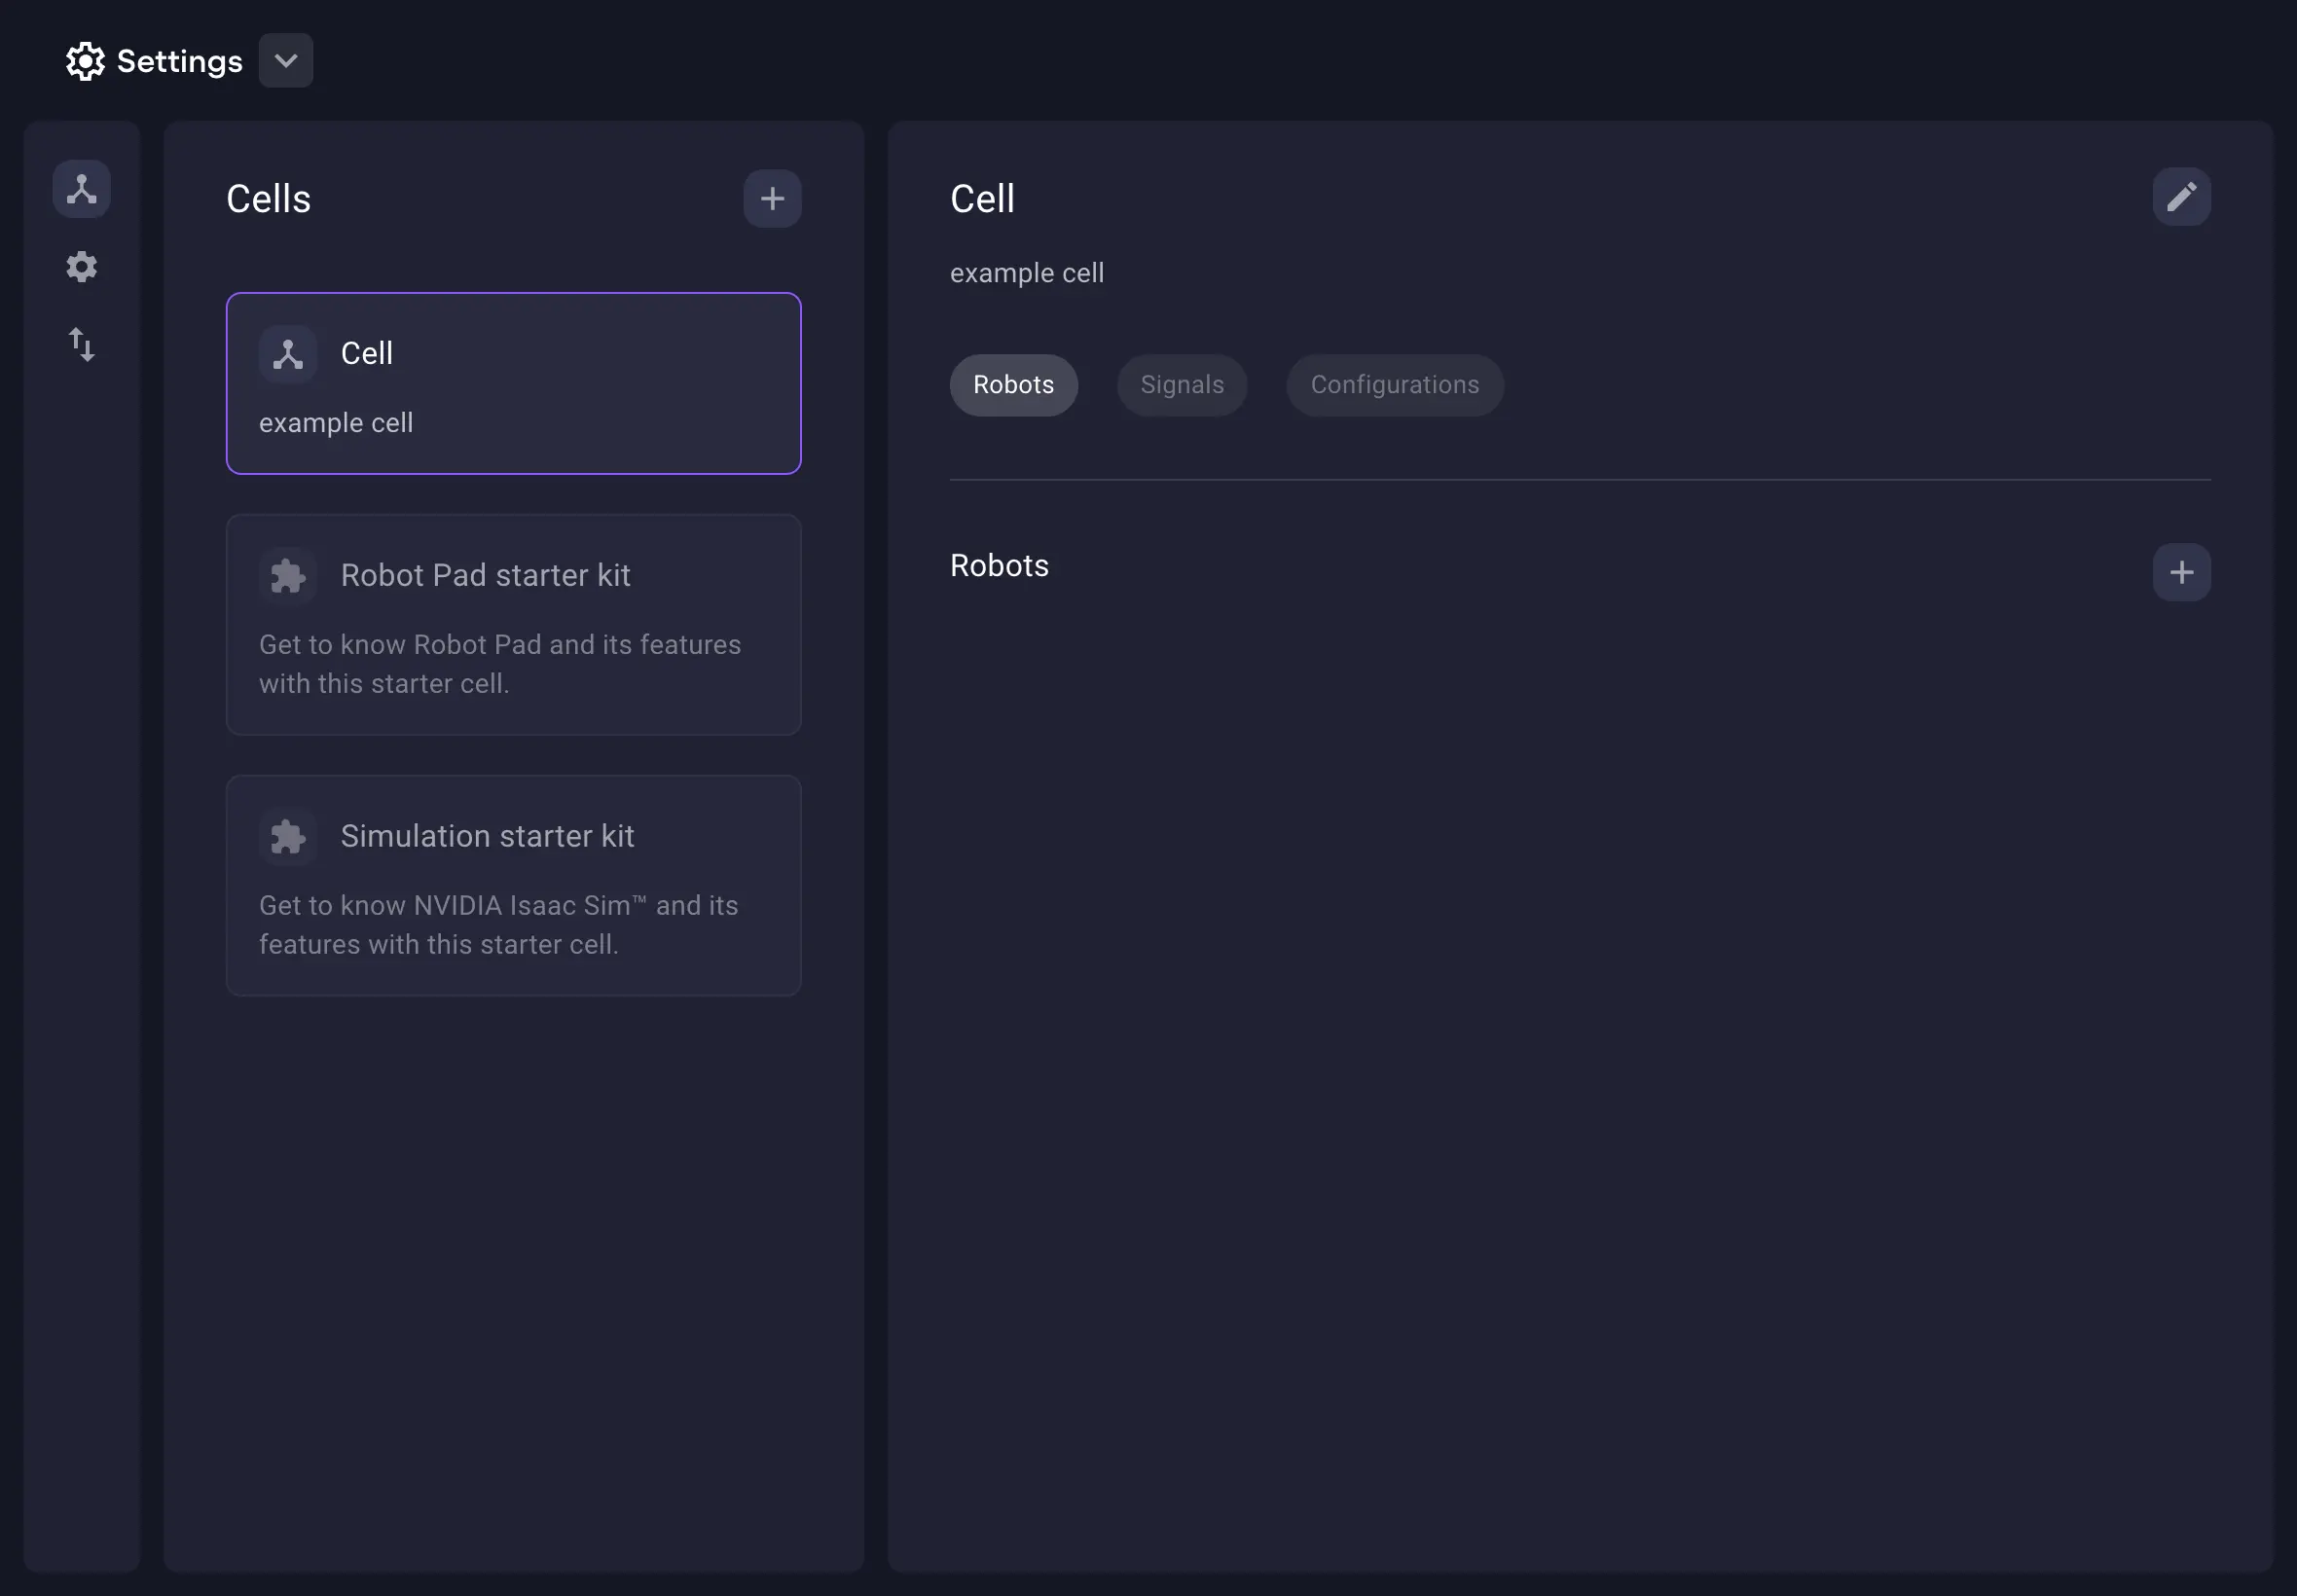
Let's add a robot to the cell by selecting the "Robots" tab and use to add a robot.
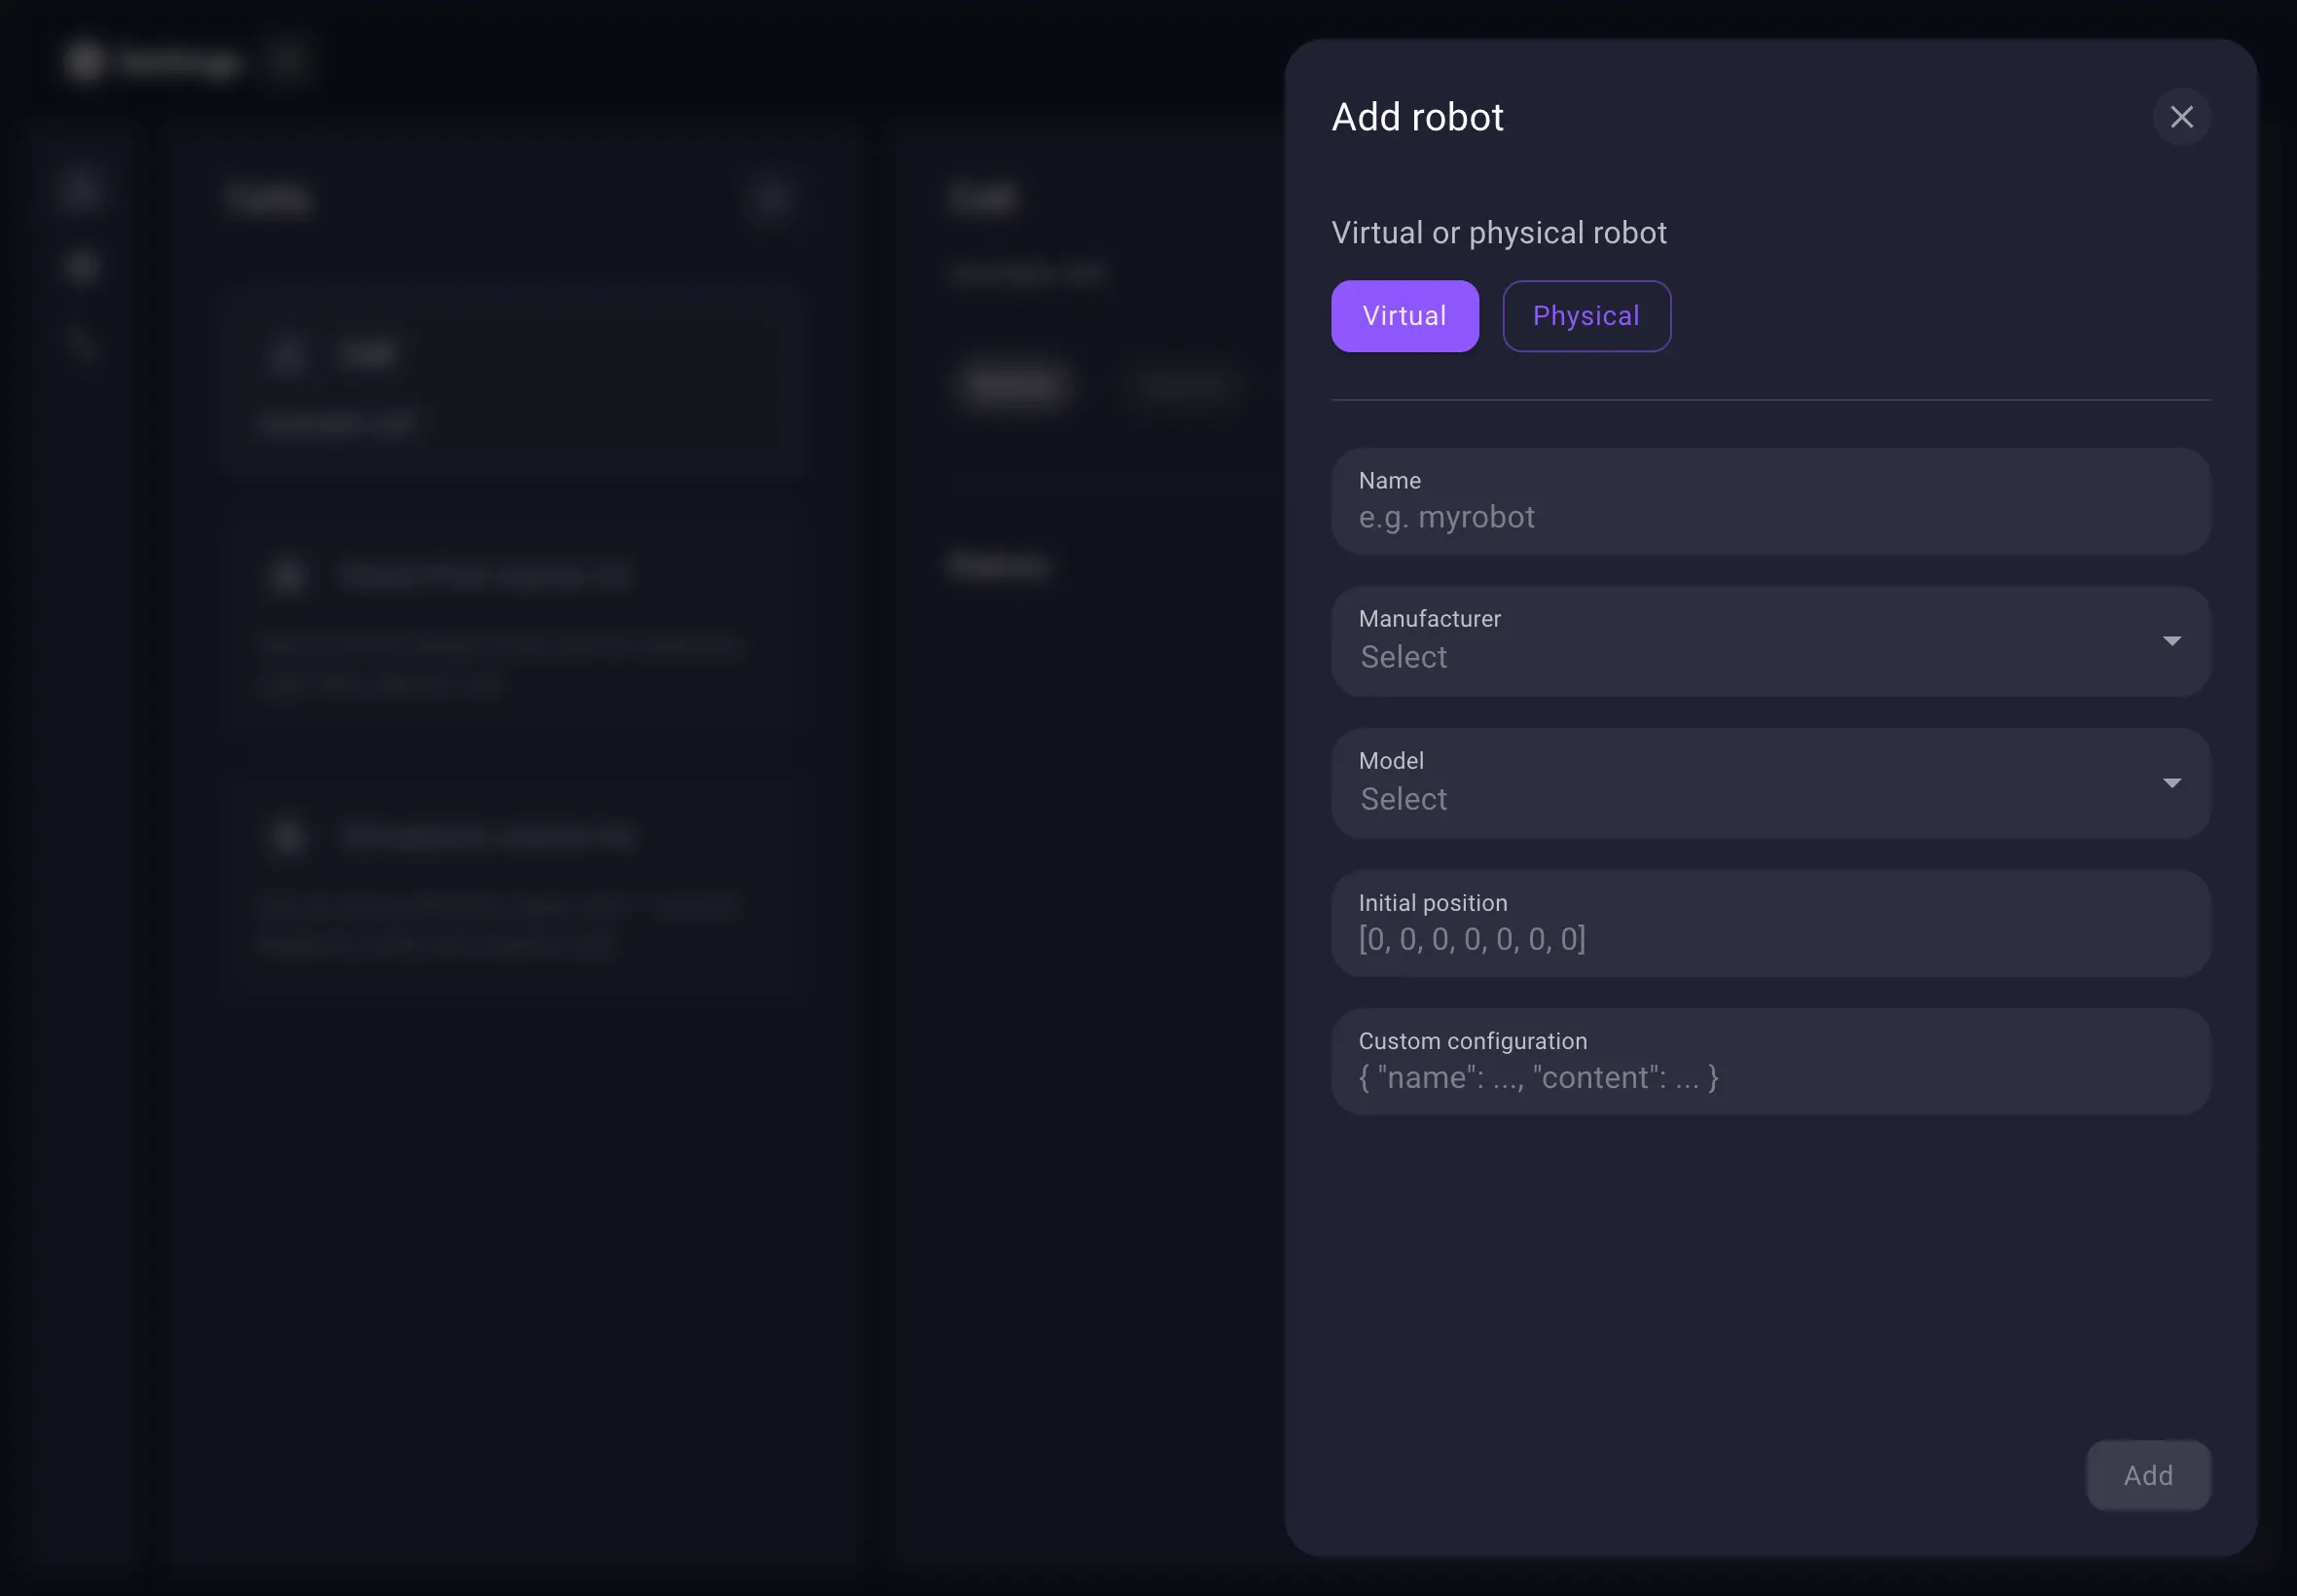
First, you need to decide whether you want to add a virtual or a physical robot. In this case, you will add a virtual robot to the cell. Name the robot, select a robot manufacturer and a model and you're good to add the robot to the cell.
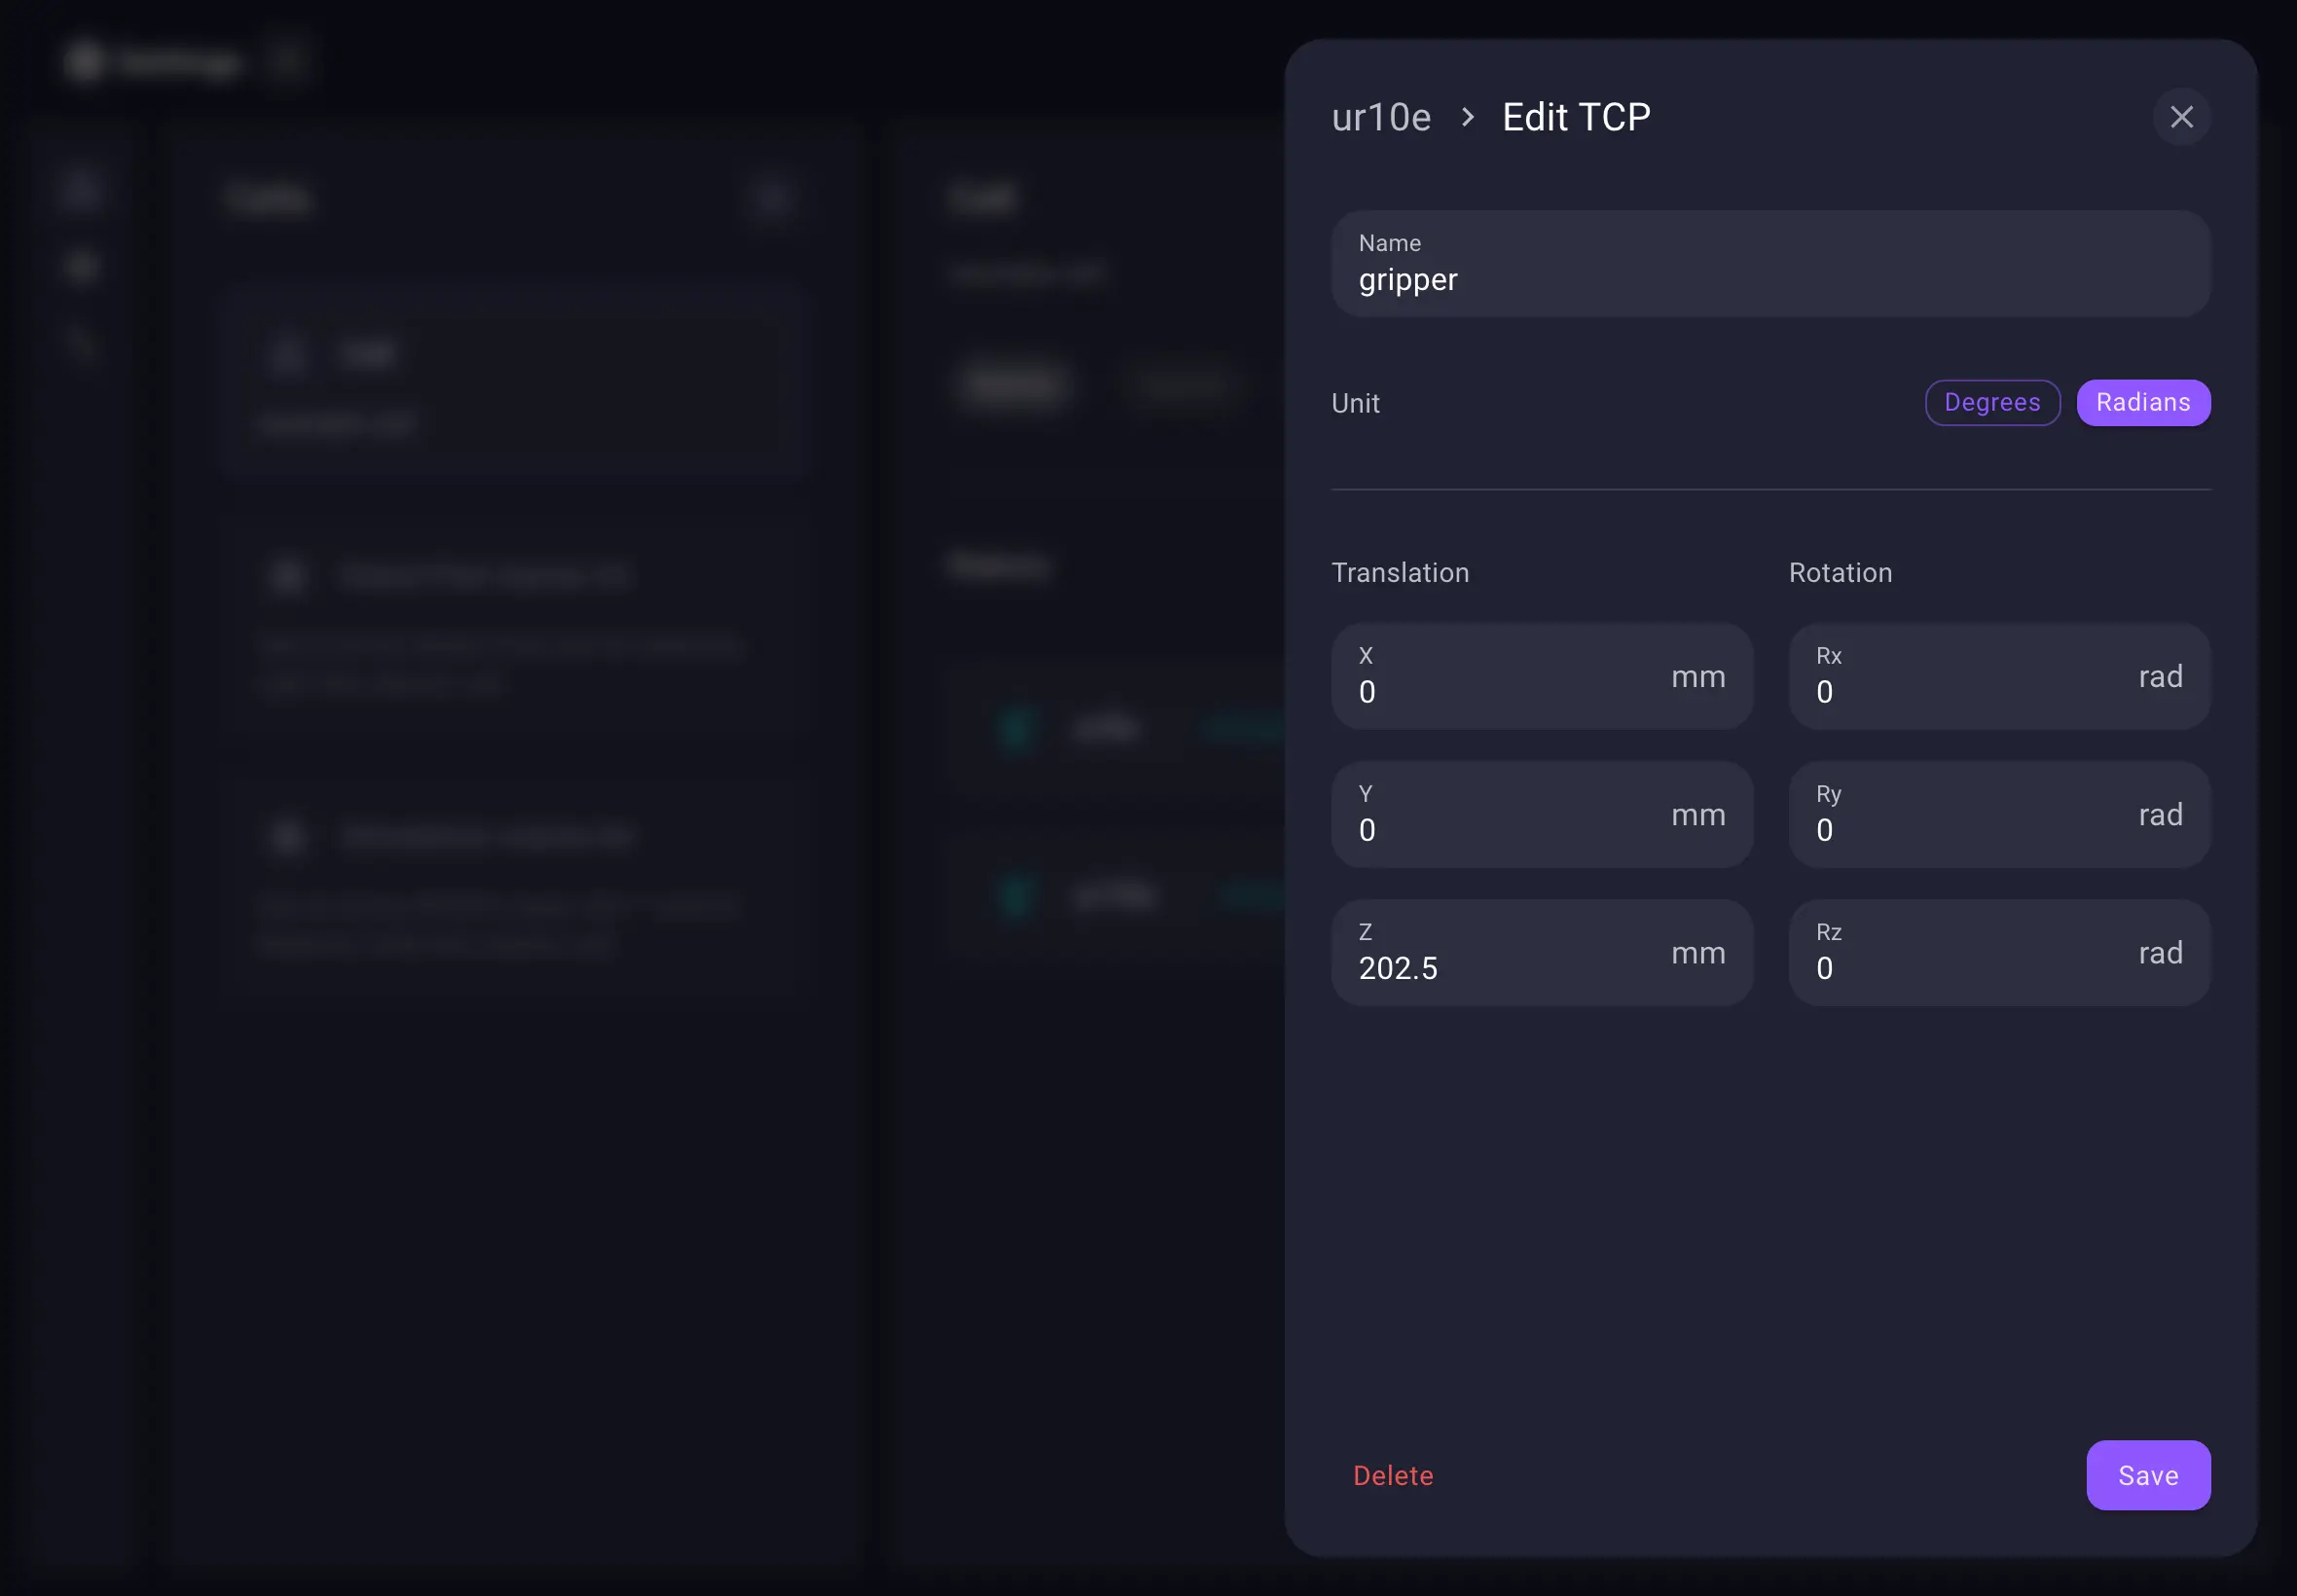
Before moving the robot in Robot Pad, you might want to add a tool center point (TCP) which defines the point the robot uses to perform its movements.
Per default, every added virtual robot has a TCP named "Flange".
To accurately mimic a movement with a tool, you can add a new TCP by clicking on the previously added robot
and selecting the "TCP" tab.
Use to add a new TCP.
For physical robots, the TCP tab presents an overview on all existing TCPs on the physical robot controller. You cannot add TCPs for physical robot controllers in settings.
Move your robot
Now that we've successfully added a robot to our cell, let's open the Robot Pad to get it moving!
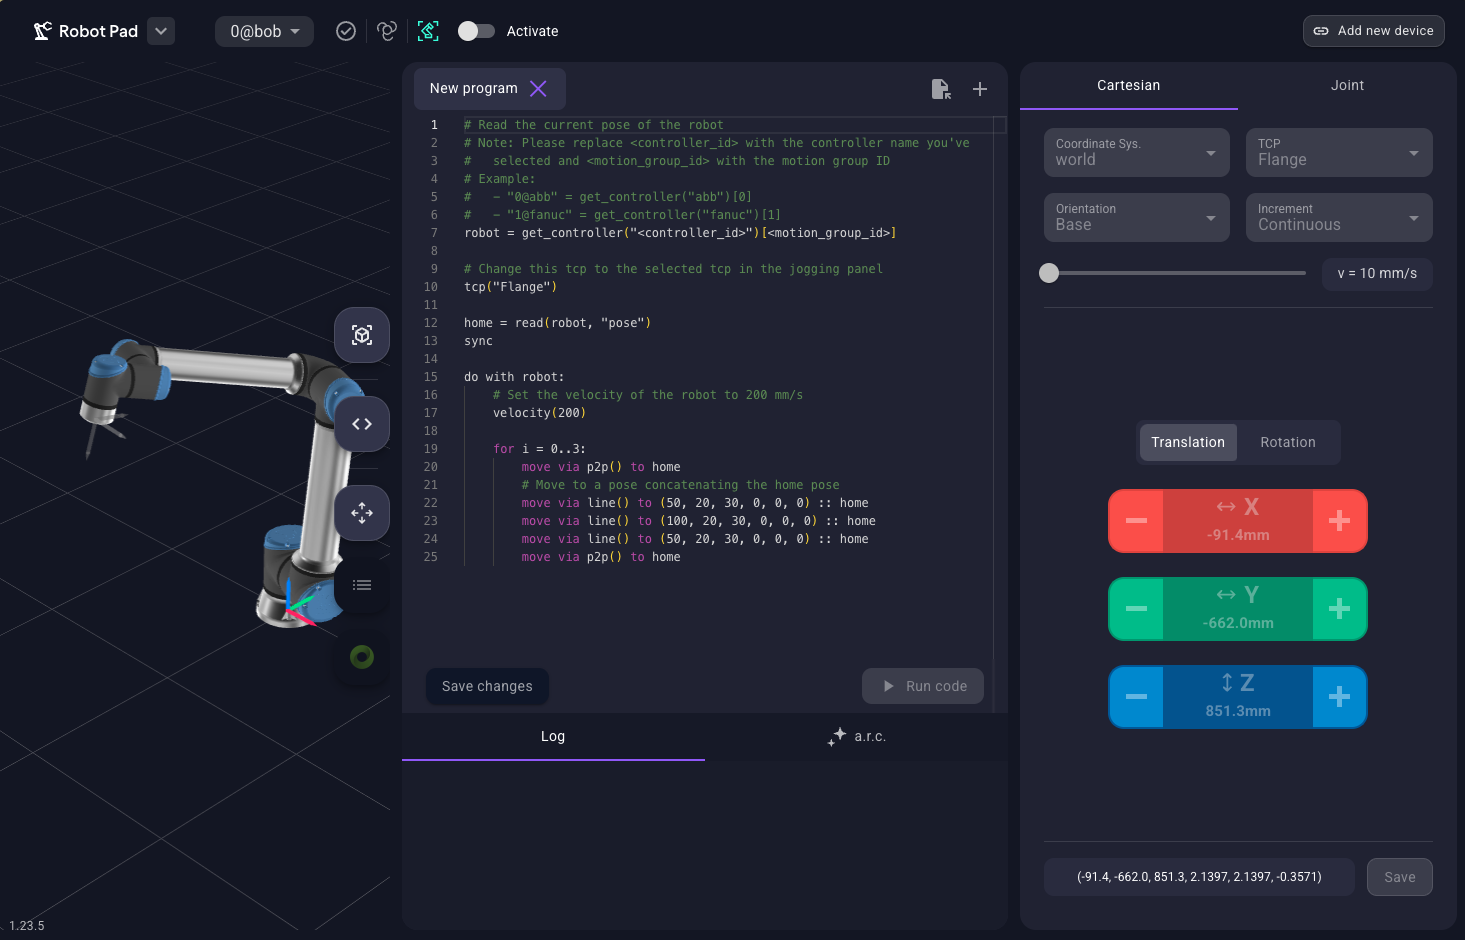
Go back to the home screen and open the Robot Pad.
Robot Pad visualizes robots you have added in settings and provides different panels to control the robot.
Try moving the robot by using the control panel or by executing the example program in the code editor.
Some of your burning questions have been left unanswered? Try out the search function or visit the FAQ page! Or scan available resources to find the answer you're looking for:
Useful resources
Exchange ideas, ask questions, and get help from the Wandelbots NOVA community.
You've safely returned from your first exploration with Wandelbots NOVA! You're ready to dive deeper into the world of robot programming and control. 🚀