Explore Wandelbots NOVA
Before you throw yourself into the deep end of space, a nice warm-up is to create a cloud instance. This will allow you to check out all key features without the need to install anything on your local machine.
Create a cloud instance
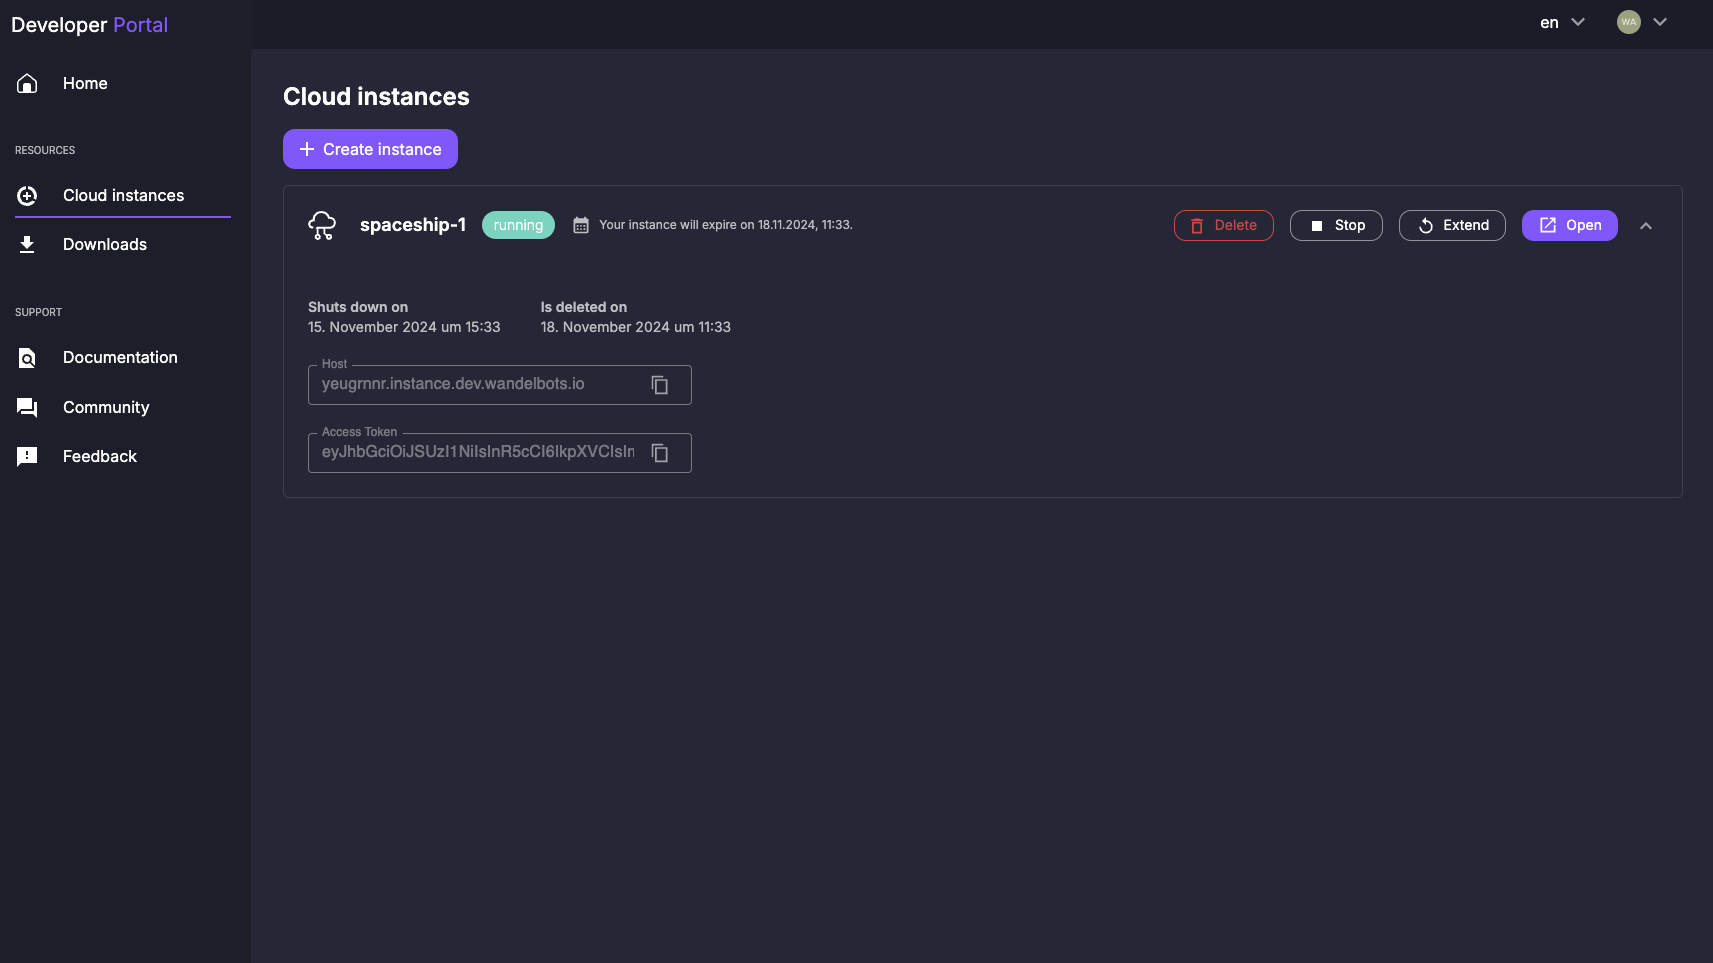
Start a cloud instance via the Developer Portal (opens in a new tab).
Create a robot cell
Click on the Open button of your created instance. The home screen is displayed.
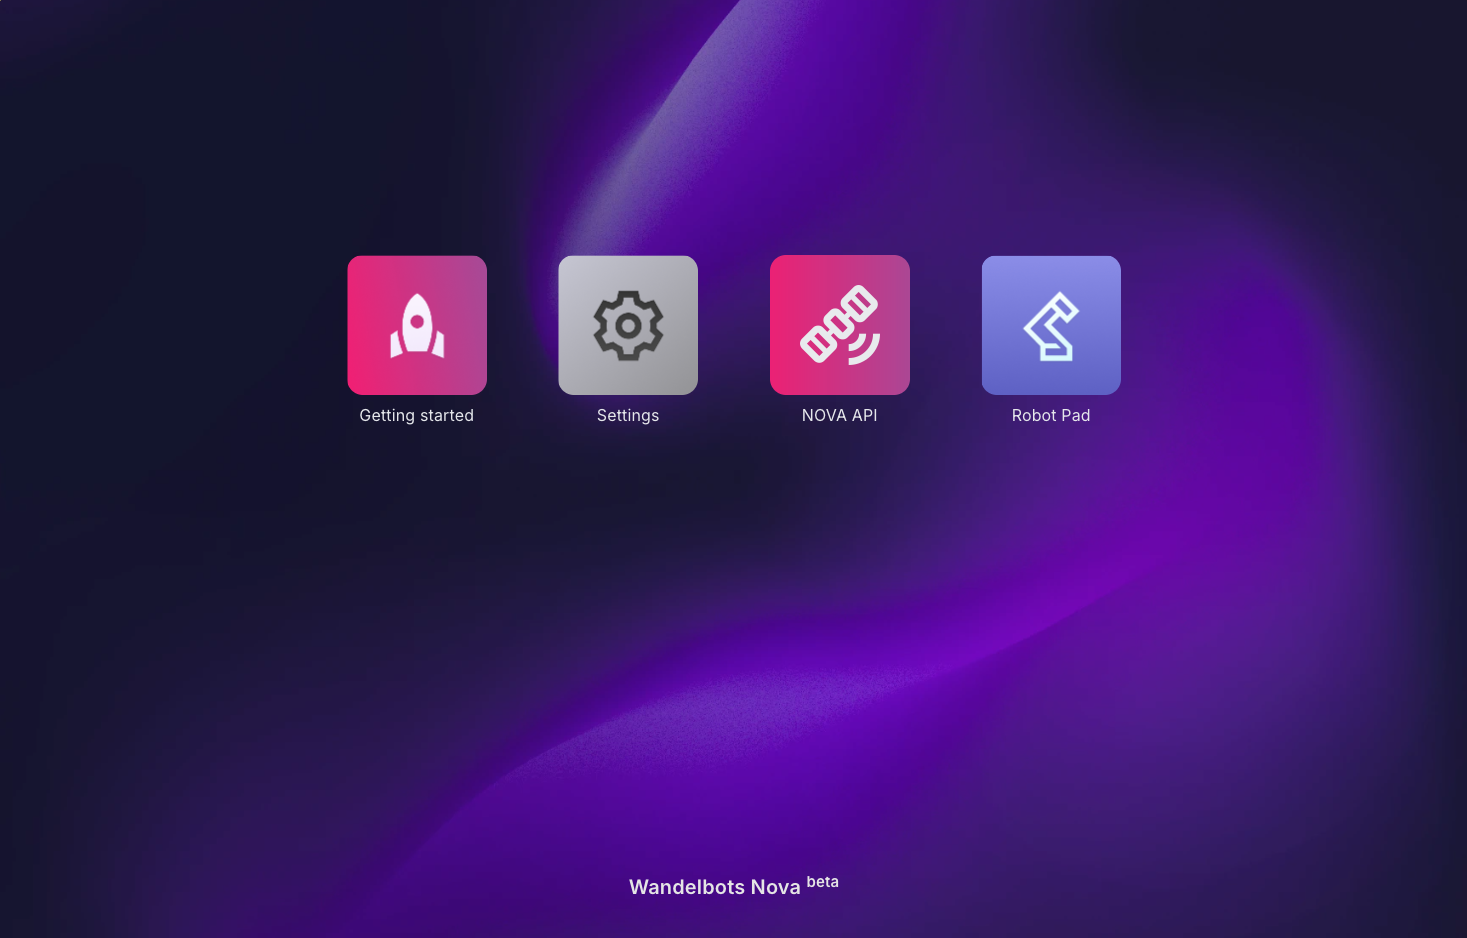
The home screen of your instance is the starting point for all your activities. Here you can create, manage, and simulate cells, write robot programs, and much more. This is also where your own custom apps will be displayed after you deployed them to the Wandelbots NOVA instance.
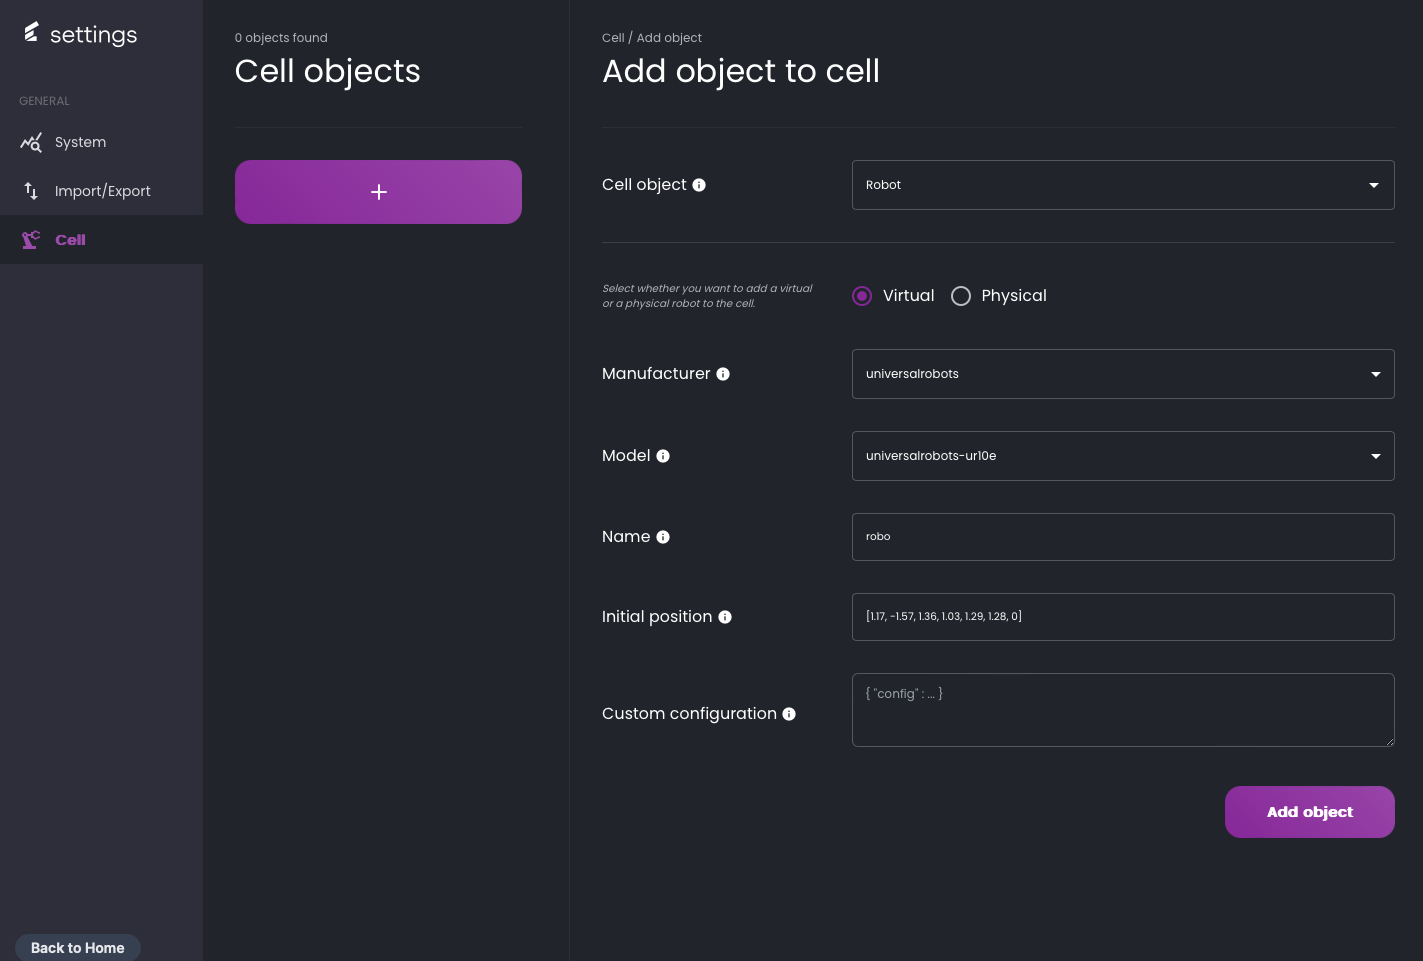
But for now, we want to create a virtual cell within the settings and add a robot.
Open the settings app and go to the "Cell" tab.
Let's add a robot to our cell by selecting the "Robot" cell object from the dropdown list.
Select "virtual" as the robot type and the desired manufacturer and model.
Now the fun part: Name your robot and click on "Next".
Move your robot
Now that we've successfully added a robot to our cell, let's open the Robot Pad to get it moving!
Go back to the home screen and open the Robot Pad.
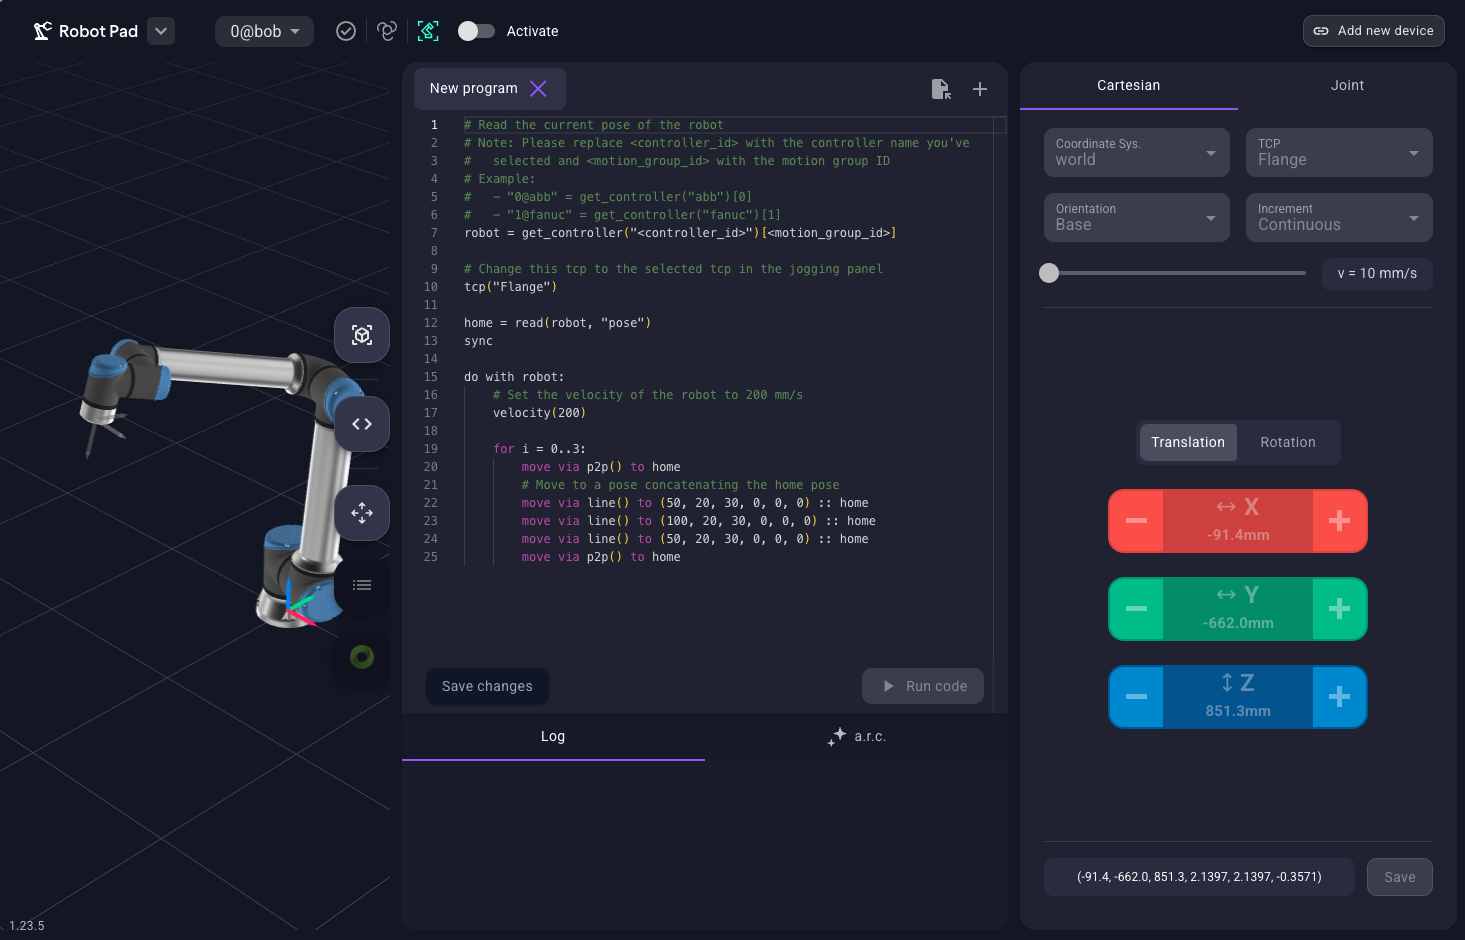
Try moving the robot by using the control panel or by executing the example program in the code editor.
Some of your burning questions have been left unanswered? Try out the search function or visit the FAQ page! Or join the community to get help from other users:
Join the community
Exchange ideas, ask questions, and get help from the Wandelbots NOVA community.
You've safely returned from your first exploration with Wandelbots NOVA! 🚀 Now you're ready to dive deeper into the world of robot programming and control: Get a general introduction with more details on Wandelbots NOVA.